How to Connect Exhaust Pipes Without Welding
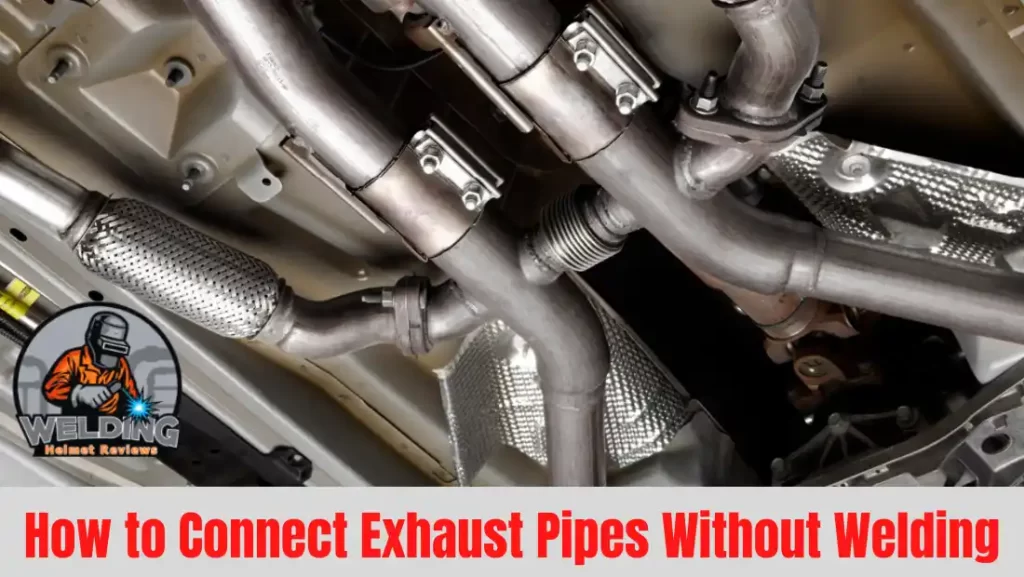
An exhaust system is a crucial component of any vehicle as it helps to regulate the emission of gases from […]
How to Connect Exhaust Pipes Without Welding Read Post »
An exhaust system is a crucial component of any vehicle as it helps to regulate the emission of gases from […]
How to Connect Exhaust Pipes Without Welding Read Post »
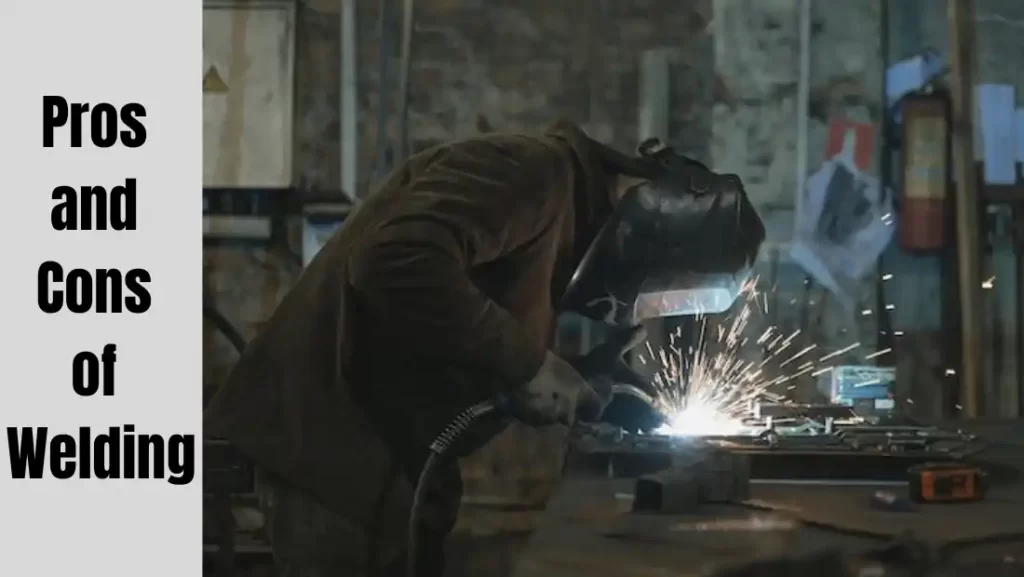
Welding is a widely used method of joining metal parts together by heating them to a high temperature and applying
What are the Pros and Cons of Welding? Read Post »
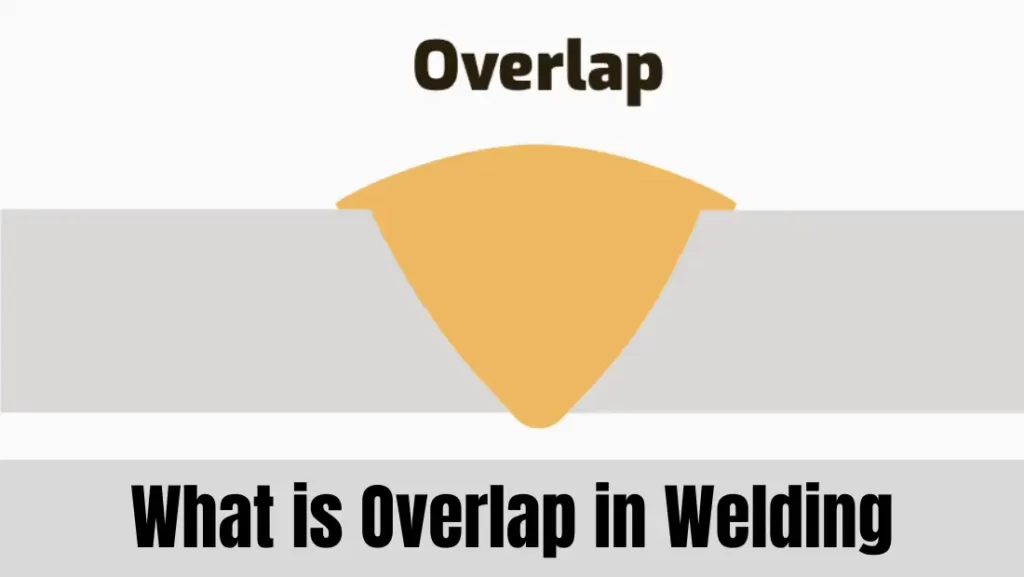
Welding is a process of joining two or more metal parts together by heating the surfaces to their melting point
What is Overlap in Welding | Causes and Prevention Read Post »

Welding is a process that involves the use of intense heat to join two pieces of metal together. One of
How Bright is a Welding Arc Compared to the Sun Read Post »
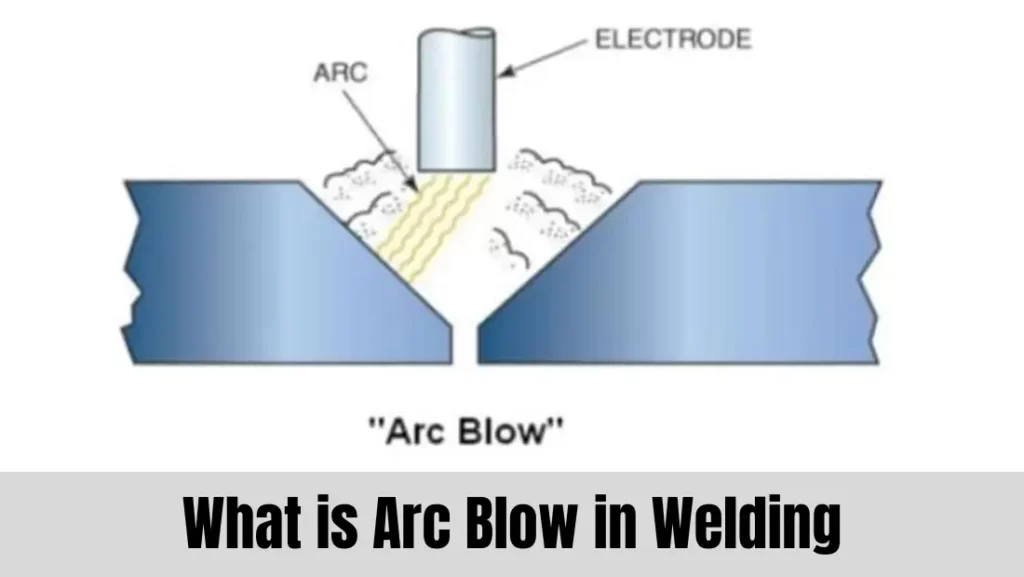
Welding is a process that is used to join two metal parts together by heating them to a high temperature
What is Arc Blow in Welding | Complete Details Read Post »
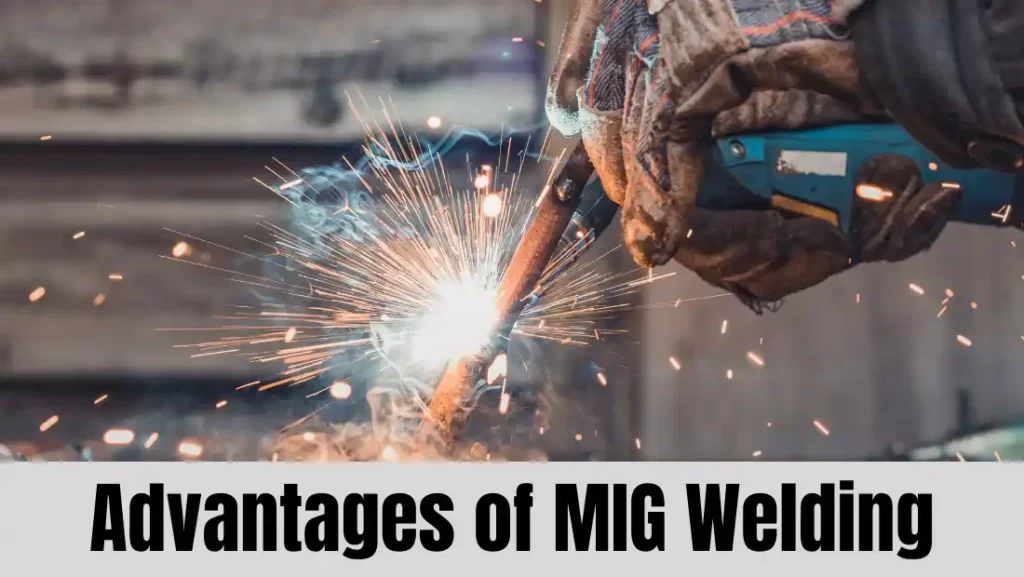
MIG welding, also known as gas metal arc welding (GMAW), is a common welding process that is widely used in
What are the Advantages of MIG Welding – Complete Guide Read Post »
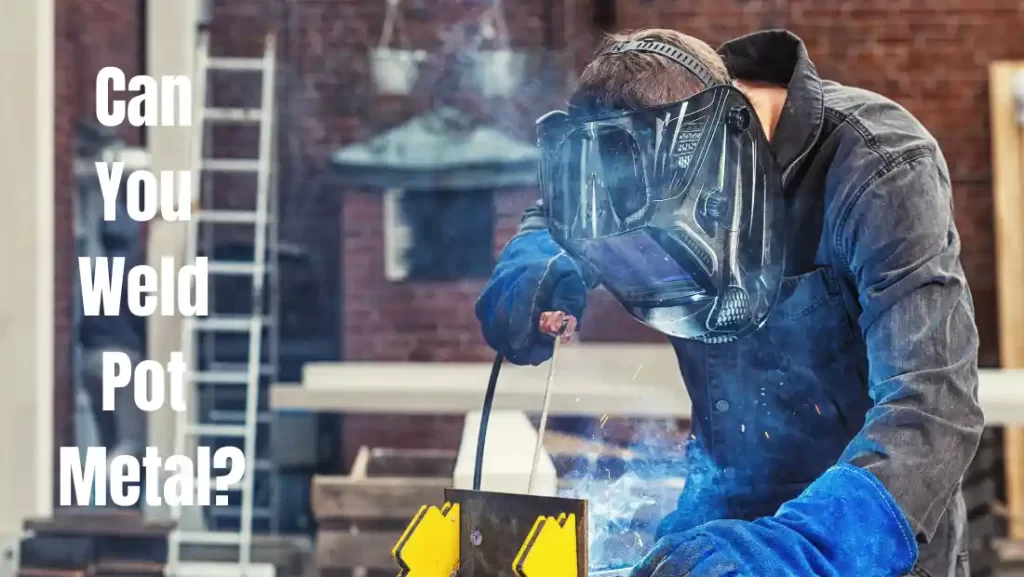
It is possible to weld pot metal, die-cast aluminum or zinc alloy. However, it can be challenging because pot metal
Can You Weld Pot Metal? All You Need to Know Read Post »
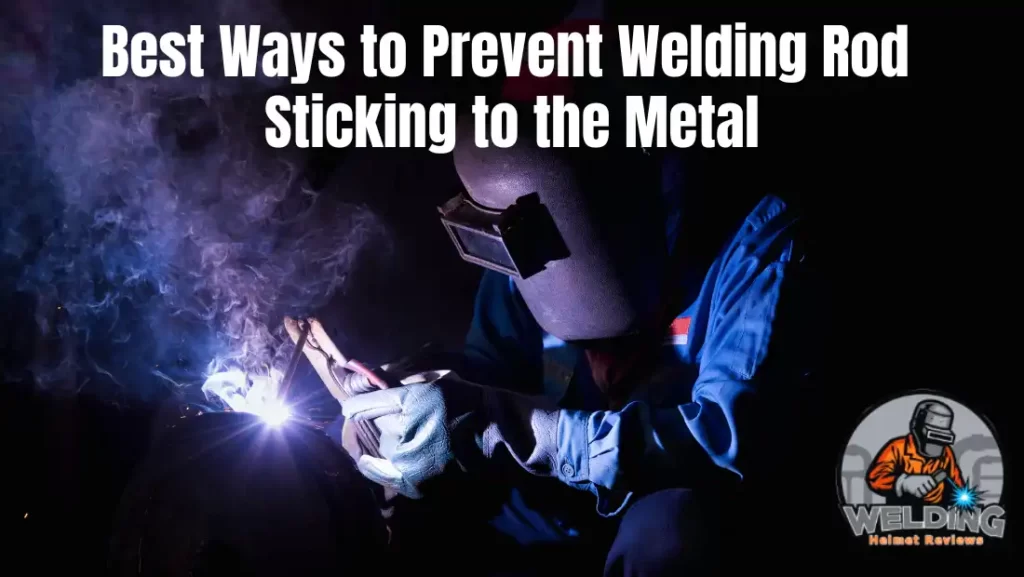
When you are trying to weld the metal, there are several ways to prevent a welding rod sticking to the
How to Prevent Welding Rod Sticking to the Metal Read Post »
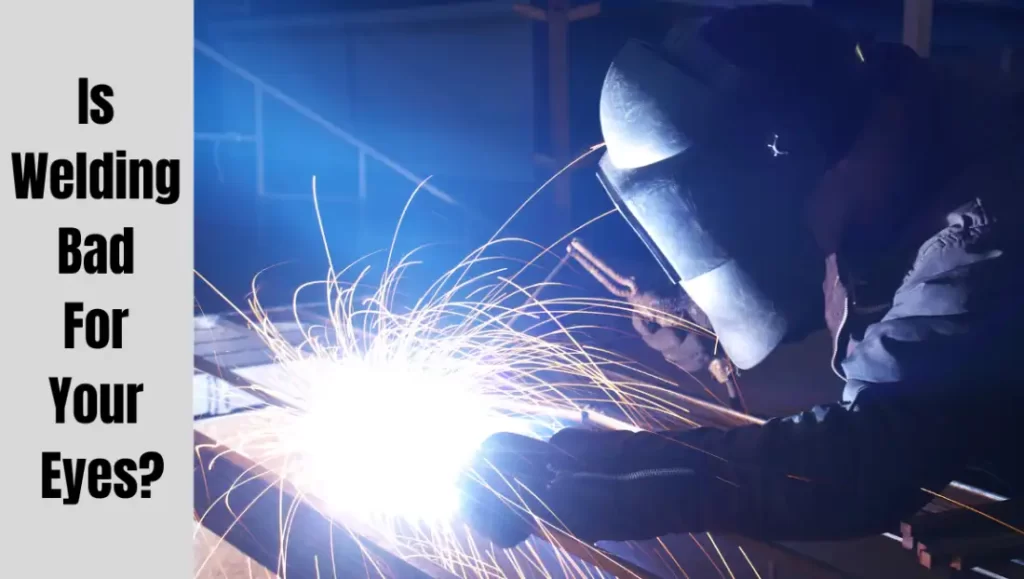
If you’ve ever worked on a welding project, you’ve probably wondered whether it’s good for your eyes. However, if you’re
Is Welding Bad For Your Eyes? | Complete Guide Read Post »

Whether you are a beginner or an experienced welder, you probably have heard the terms burnback and flashback. But what
What is a Flashback in Welding? Complete Guide Read Post »