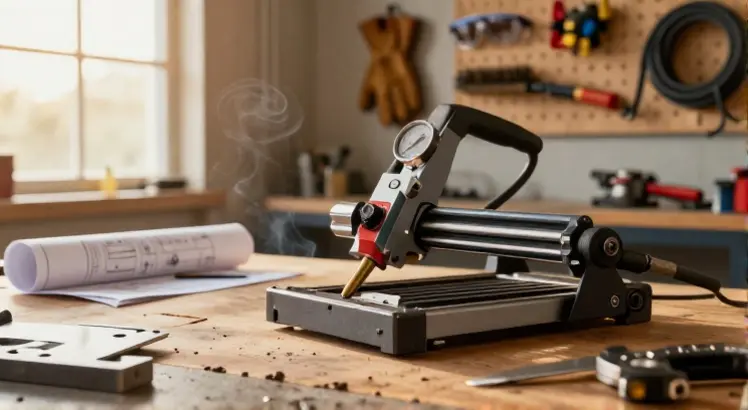
13 Best Plasma Cutter Under $500 (2026 Review)
Getting clean, precise cuts on metal doesn’t have to break the bank. For DIYers, hobbyists, and home workshop owners, finding […]
13 Best Plasma Cutter Under $500 (2026 Review) Read Post »
Getting clean, precise cuts on metal doesn’t have to break the bank. For DIYers, hobbyists, and home workshop owners, finding […]
13 Best Plasma Cutter Under $500 (2026 Review) Read Post »
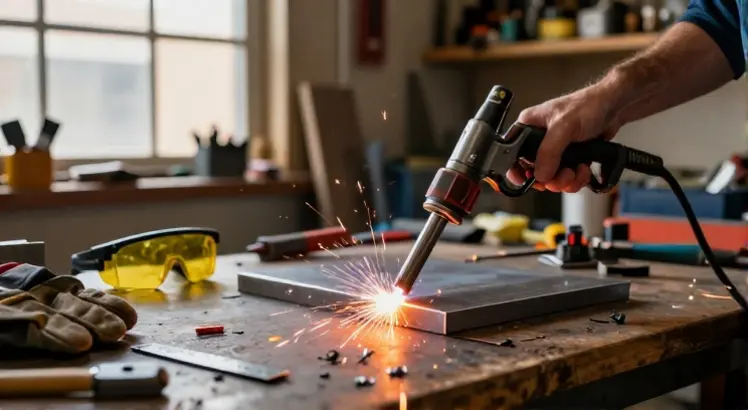
You know the frustration. You’re staring at a piece of rusty steel, a snapped bracket, or an exhaust pipe that
13 Best Plasma Cutter For Home Use (2026 Review) Read Post »
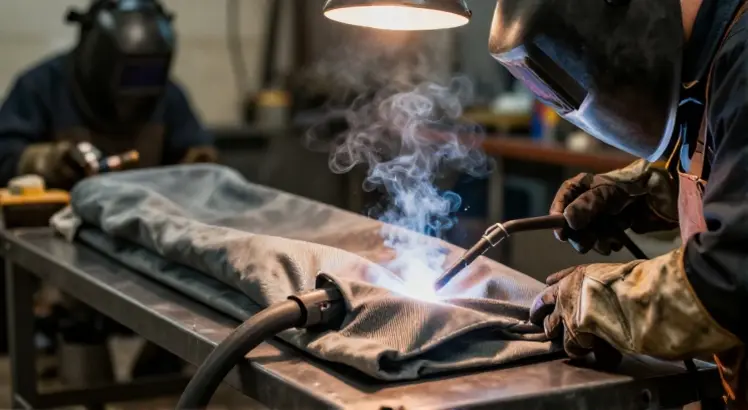
If you are welding overhead, forging steel, or brazing copper pipes, protecting the surrounding area from sparks and slag is
Is Carbon Felt Fireproof? Testing Limits and Safety Read Post »
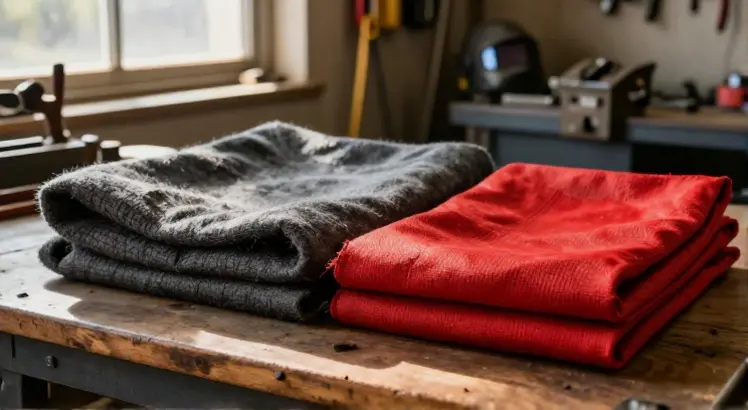
When you are searching for what fabric is best for welding, the answer is not just about staying cool or
What Fabric Is Best for Welding? (Safety Guide) Read Post »

Underwater welding is a well-paid profession. It provides welders the opportunity to travel and adventure in the world. But it’s
Why is Underwater Welding so Dangerous – Underwater Life Read Post »
Are you interested in a hands-on career that offers job security, good pay, and the opportunity to work in a
How to Become a Welder: A Comprehensive Guide Read Post »
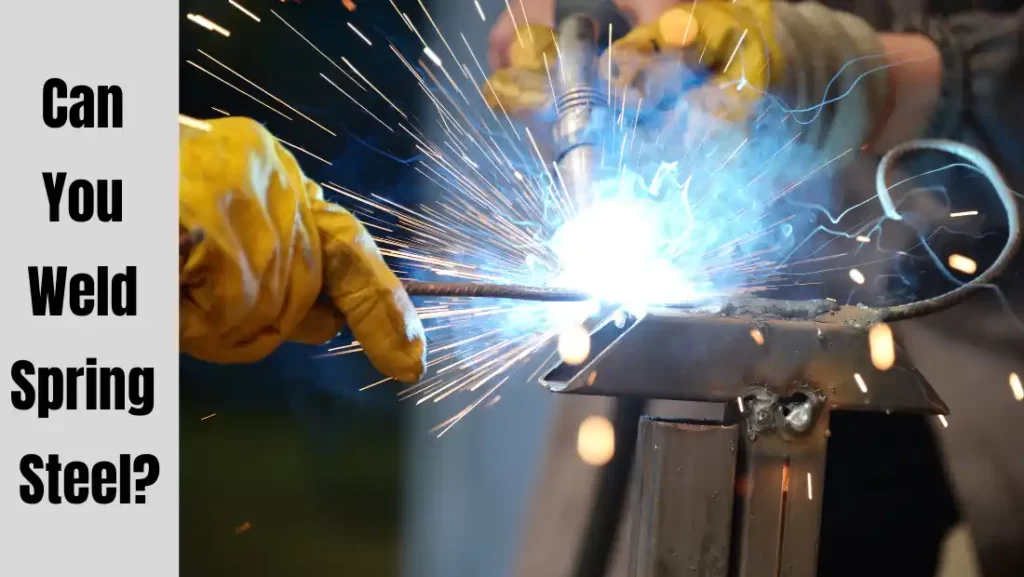
Welding is the process of joining two pieces of metal or thermoplastic using heat and pressure. It is a common
Can You Weld Spring Steel to Mild Steel? Complete Guide Read Post »

It’s imperative to reward welders occasionally for their diligent work, so they remember their importance in other’s life. Welding is
What Are the Best Gifts for Welders? Read Post »

Welding is an essential skill in various industries, from construction to automotive repair. A welder’s gear is crucial for ensuring
A Comprehensive Guide to Cornwell Welding Helmets Read Post »
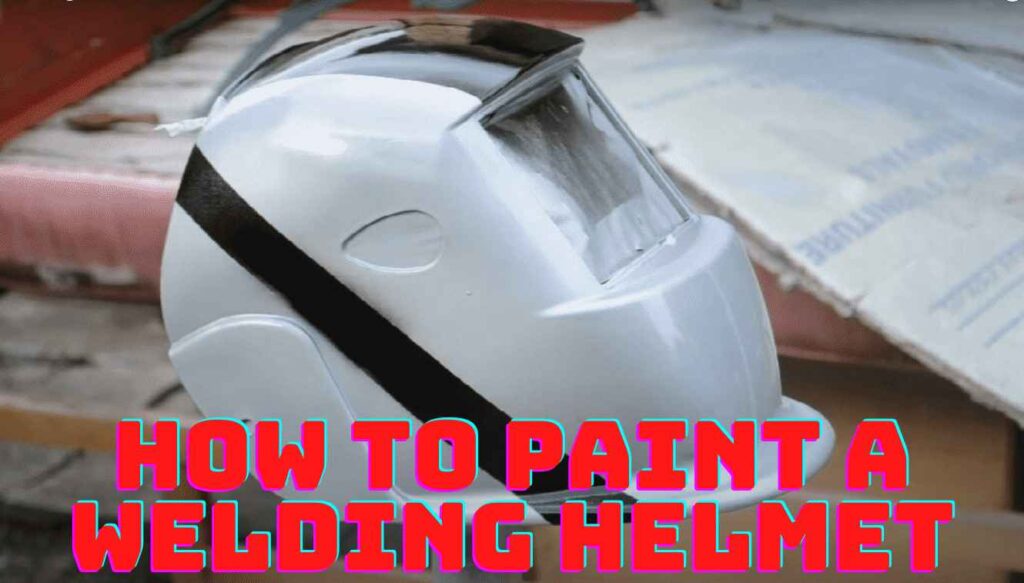
[et_pb_section fb_built=”1″ _builder_version=”4.16″ _module_preset=”default” background_enable_color=”off” custom_padding=”11px||5px|0px||” global_colors_info=”{}”][et_pb_row _builder_version=”4.16″ _module_preset=”default” width=”98.2%” custom_margin=”0px||||false|false” custom_padding=”0px||7px|0px|false|false” global_colors_info=”{}”][et_pb_column type=”4_4″ _builder_version=”4.16″ _module_preset=”default” global_colors_info=”{}”][et_pb_text content_tablet=” Some welders
6 Steps to Paint a Welding Helmet – Tips for Welders Read Post »