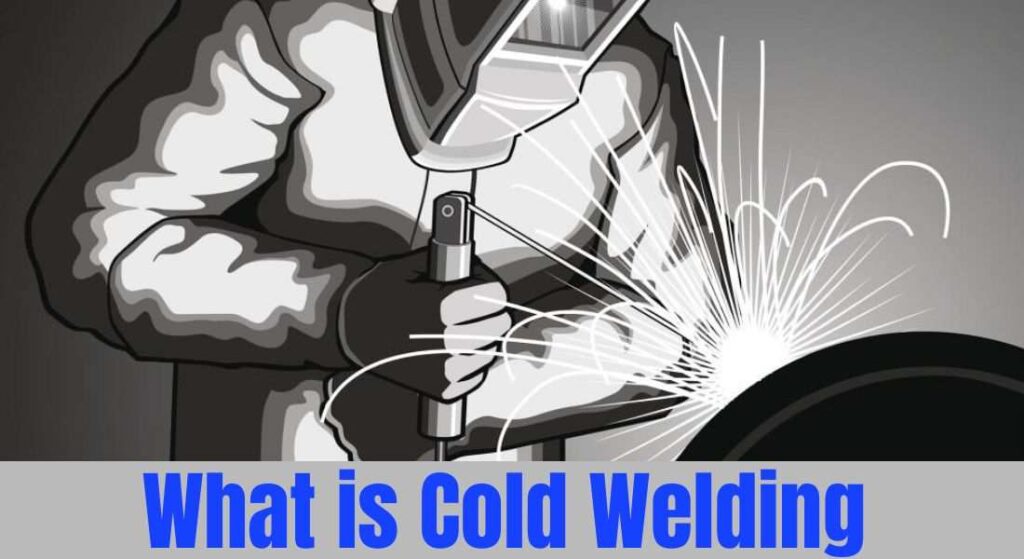
What is Cold Welding? Benefits and Applications
Normally, we are all familiar with heat welding and see that almost all welders use heat to join two metal […]
What is Cold Welding? Benefits and Applications Read Post »
Normally, we are all familiar with heat welding and see that almost all welders use heat to join two metal […]
What is Cold Welding? Benefits and Applications Read Post »
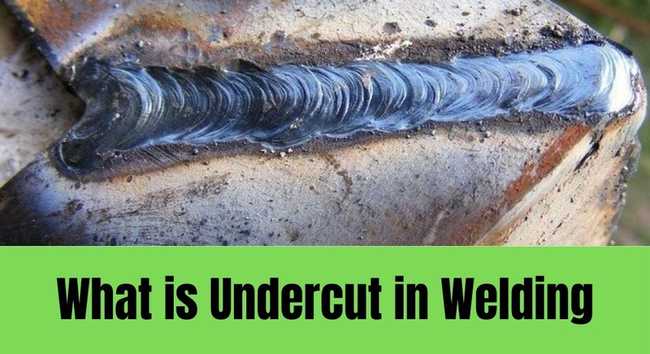
The welding operations are not as simple as it seems. If you tried welding for the first time, it most
What is Undercut Welding? Its Causes and Prevention Read Post »
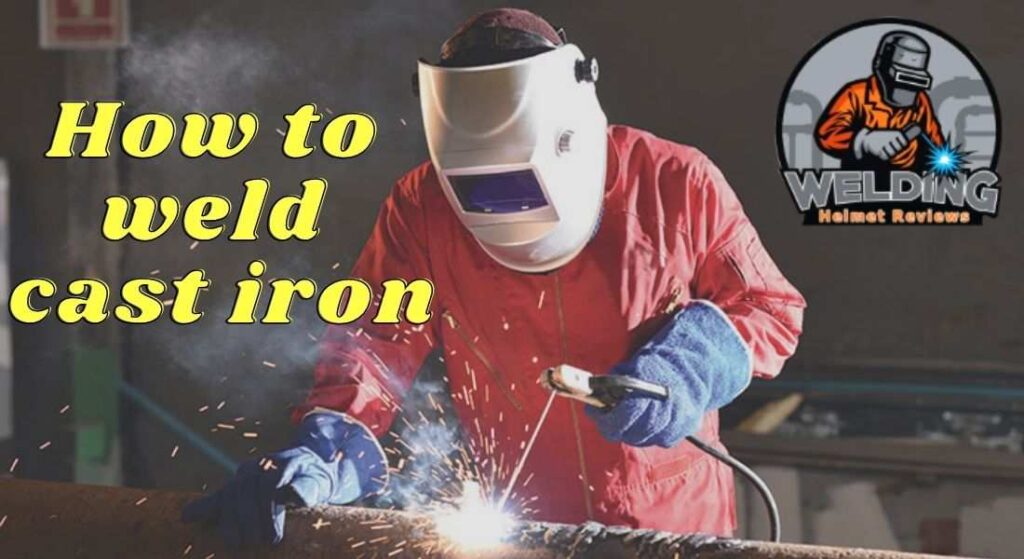
Cast iron is hard, brittle, expensive, cheap material and a thorn in the flesh; however, it is used in every
How to Weld Cast Iron – Complete Weld Guide Read Post »

Choosing the right profession for yourself might be difficult. There are thousands of opportunities standing in front, then why do
Is Welding a Good Career in 2023? Read Post »
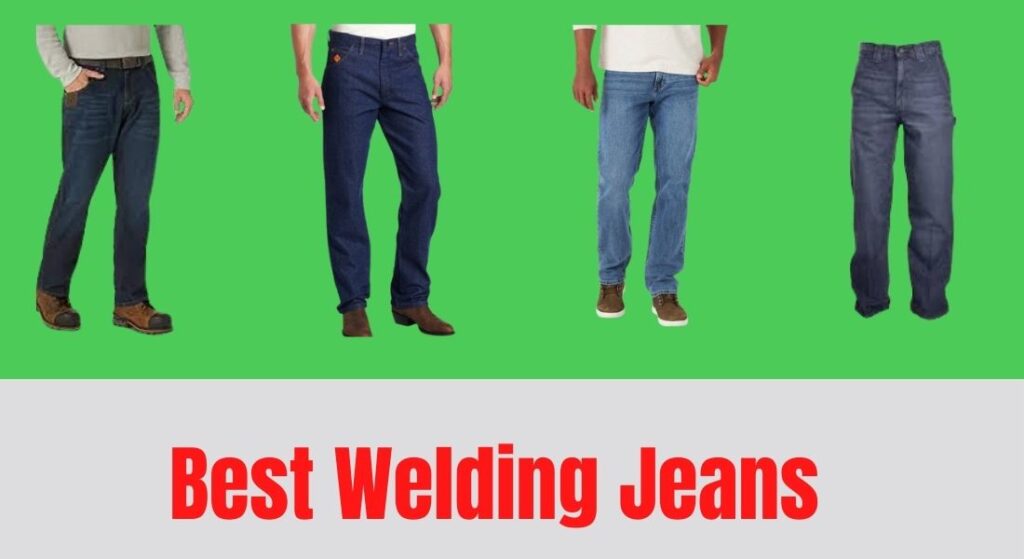
[et_pb_section fb_built=”1″ admin_label=”section” _builder_version=”4.16″ global_colors_info=”{}” custom_padding=”2px||6px|||”][et_pb_row admin_label=”row” _builder_version=”4.16″ background_size=”initial” background_position=”top_left” background_repeat=”repeat” global_colors_info=”{}” custom_padding=”4px||0px|||”][et_pb_column type=”4_4″ _builder_version=”4.16″ custom_padding=”|||” global_colors_info=”{}” custom_padding__hover=”|||”][et_pb_text admin_label=”Text” _builder_version=”4.16″
6 Best Welding Pants for Welding Professionals Read Post »
[et_pb_section fb_built=”1″ admin_label=”section” _builder_version=”4.16″ custom_padding=”0px||1px|||” global_colors_info=”{}”][et_pb_row admin_label=”row” _builder_version=”4.16″ background_size=”initial” background_position=”top_left” background_repeat=”repeat” custom_padding=”6px|||||” global_colors_info=”{}”][et_pb_column type=”4_4″ _builder_version=”4.16″ custom_padding=”|||” global_colors_info=”{}” custom_padding__hover=”|||”][et_pb_text admin_label=”Text” _builder_version=”4.16″
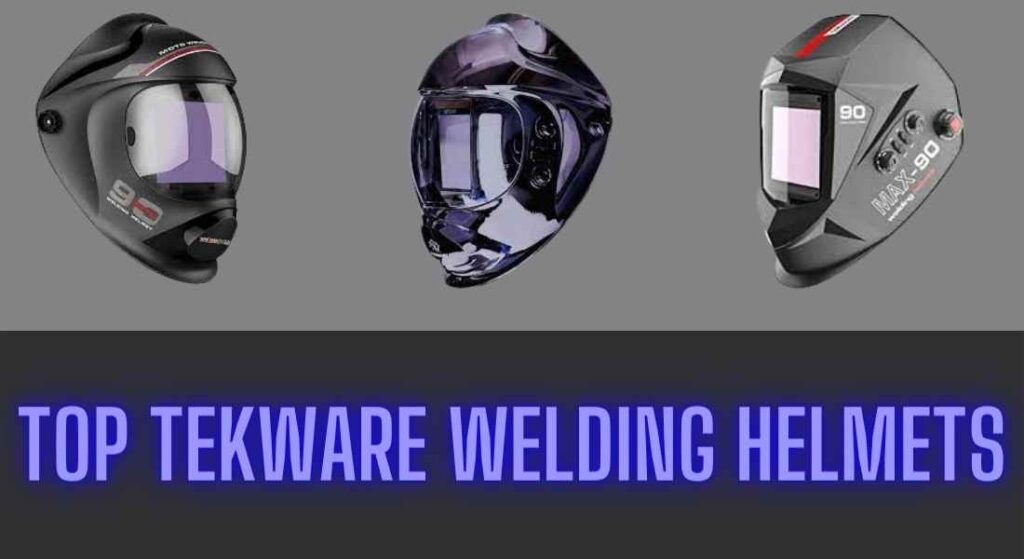
Top 3 Tekware Welding Helmet Review 2023 Read Post »
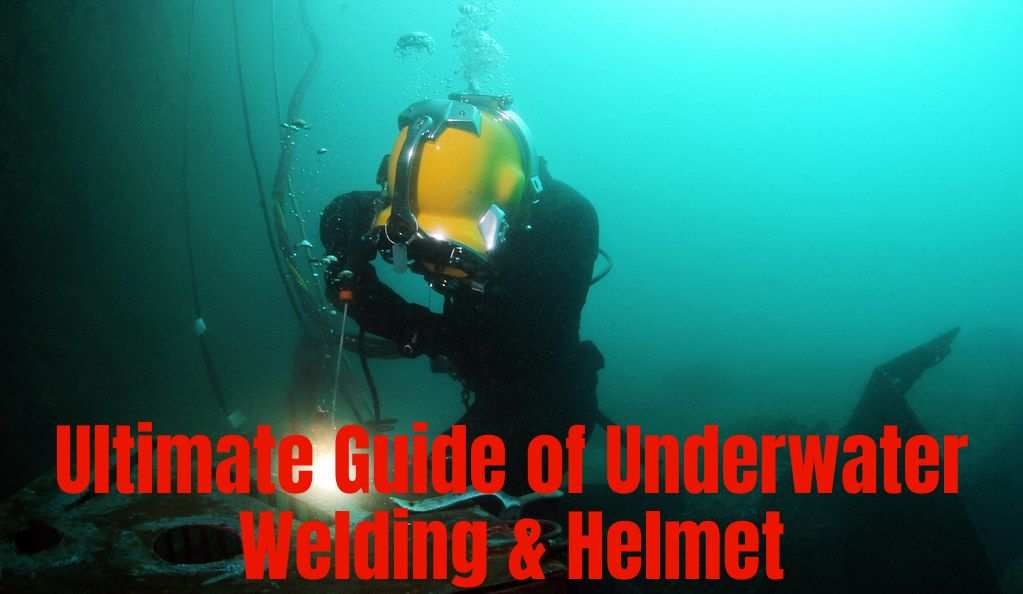
A wrong underwater welding helmet is a total tragedy. The helmet for underwater diving is one of those items that
The Ultimate Guide To Underwater Welding Helmet Read Post »
[et_pb_section fb_built=”1″ admin_label=”section” _builder_version=”4.16″ min_height=”7201.6px” custom_padding=”2px||7px|||” global_colors_info=”{}”][et_pb_row admin_label=”row” _builder_version=”4.16″ background_size=”initial” background_position=”top_left” background_repeat=”repeat” custom_padding=”4px||4px|||” global_colors_info=”{}”][et_pb_column type=”4_4″ _builder_version=”4.16″ custom_padding=”|||” global_colors_info=”{}” custom_padding__hover=”|||”][et_pb_text admin_label=”Text”
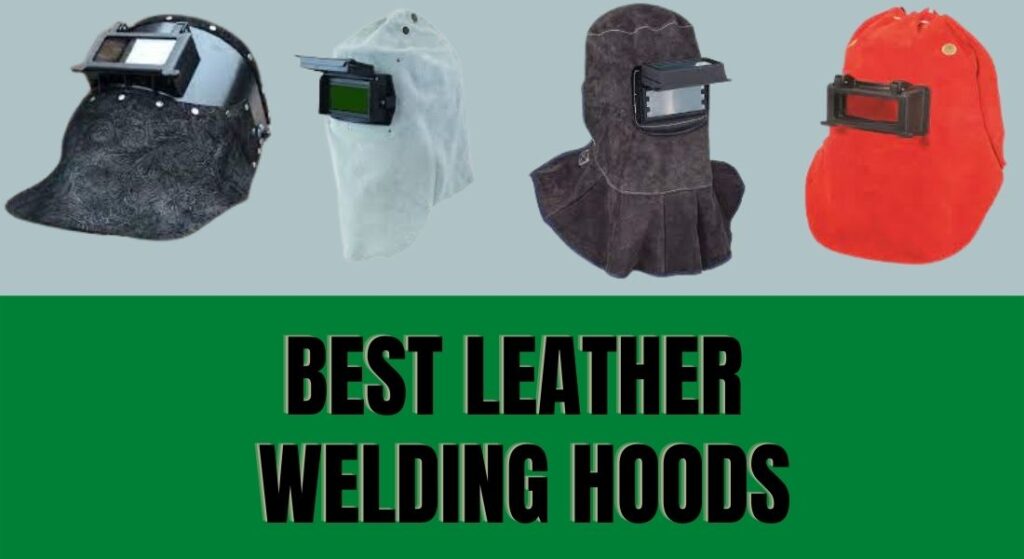
5 Best Leather Welding Hoods | Leather Welding Helmets Read Post »
[et_pb_section fb_built=”1″ admin_label=”section” _builder_version=”4.16″ custom_padding=”6px||4px|||” global_colors_info=”{}”][et_pb_row admin_label=”row” _builder_version=”4.16″ background_size=”initial” background_position=”top_left” background_repeat=”repeat” custom_padding=”4px||4px|||” global_colors_info=”{}”][et_pb_column type=”4_4″ _builder_version=”4.16″ custom_padding=”|||” global_colors_info=”{}” custom_padding__hover=”|||”][et_pb_text admin_label=”Text” _builder_version=”4.16″
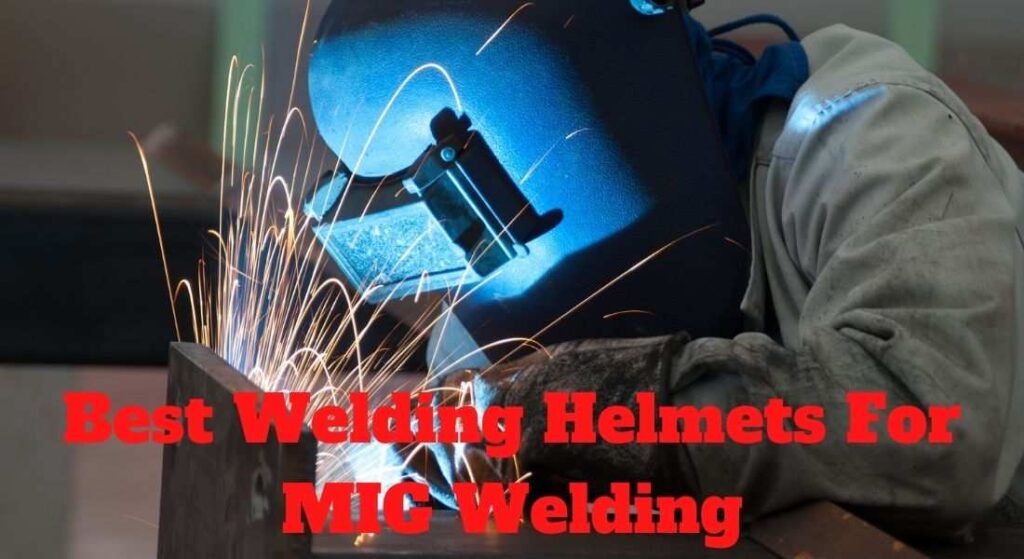
7 Best Welding Helmet for MIG Welding Read Post »

[et_pb_section fb_built=”1″ admin_label=”section” _builder_version=”4.16″ custom_padding=”5px||1px|||” global_colors_info=”{}”][et_pb_row admin_label=”row” _builder_version=”4.16″ background_size=”initial” background_position=”top_left” background_repeat=”repeat” custom_padding=”4px||4px|||” global_colors_info=”{}”][et_pb_column type=”4_4″ _builder_version=”4.16″ custom_padding=”|||” global_colors_info=”{}” custom_padding__hover=”|||”][et_pb_text admin_label=”Text” _builder_version=”4.17.4″
6 Best Lightweight Welding Helmets Read Post »