
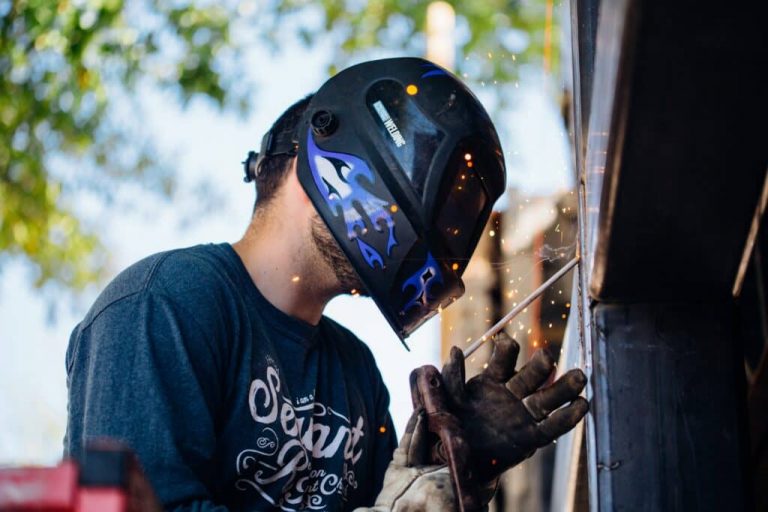
Choosing a welding helmet might seem straightforward, but it is actually one of the most critical safety decisions you will make as a welder. Your helmet protects your eyes and face from intense light, sparks, and harmful radiation. A good helmet also improves your comfort and precision, making every weld easier and safer. That is why learning how to choose a welding helmet is a skill every welder needs, whether you are just starting out or you have years of experience.
This guide breaks down everything you need to know, from the difference between passive and auto-darkening helmets to the key features that matter most. We will help you understand lens shade numbers, sensor technology, power options, and fit. By the end, you will feel confident selecting a helmet that protects your eyes and fits your budget perfectly.
Table of Contents
Understanding Welding Helmet Basics
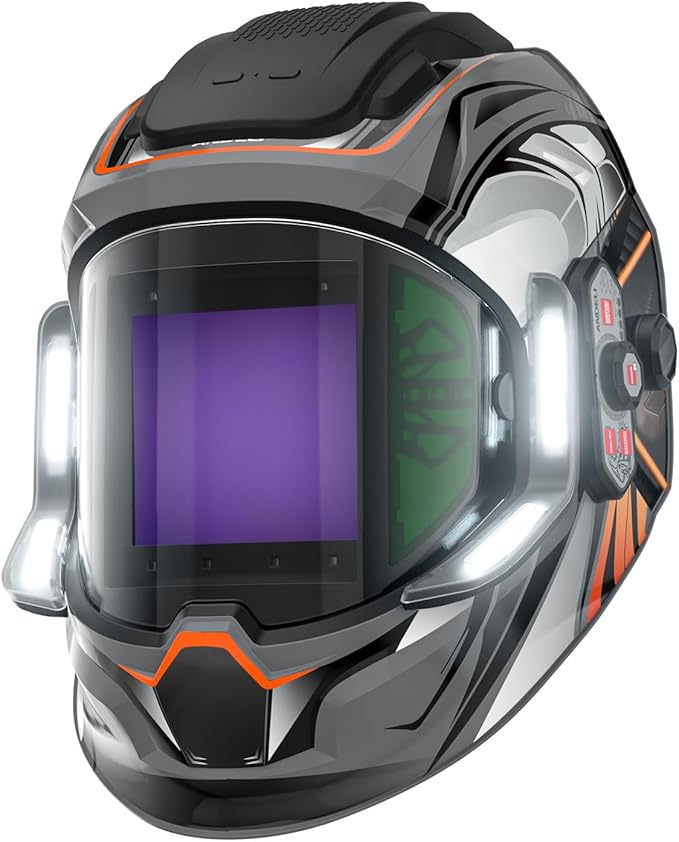
ANDELI Welding Panoramic Darkening Helmet
Panoramic auto‑darkening helmet with a large 3.94″×3.74″ main view, side windows, 6 sensors, and USB‑C charging plus built‑in LED lights for dark work areas.
Check PriceAll welding helmets serve the same primary purpose, shielding your eyes from the intense ultraviolet (UV) and infrared (IR) rays produced by the welding arc. Without proper protection, you risk painful conditions like arc eye, a flash burn of the cornea. Beyond that, a helmet stops flying sparks, slag, and debris from hitting your face. Modern helmets also make it possible to see your work clearly before, during, and after the arc starts.
There are two main types of welding helmets: passive and auto-darkening. Each has its own strengths, and the right choice depends on the type of welding you do, how often you weld, and your budget. Understanding the difference is the first step in choosing the right helmet for your needs.
Passive vs. Auto-Darkening Helmets
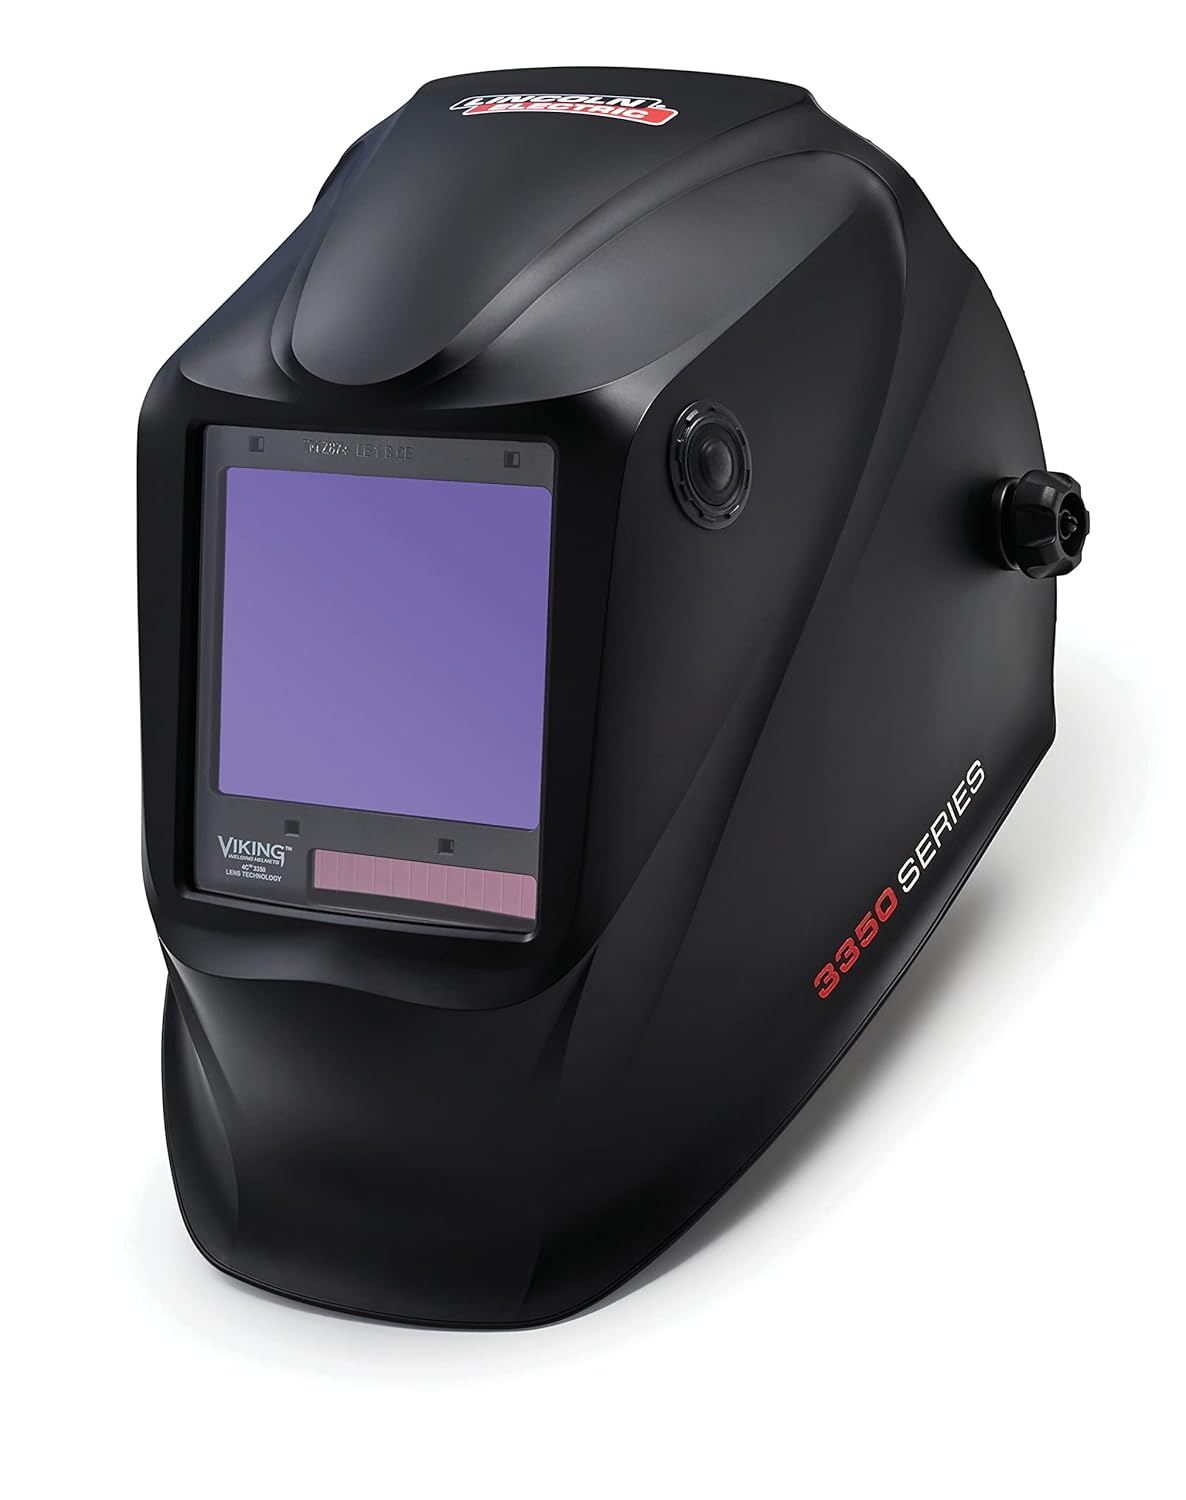
Lincoln Electric K3034‑4 VIKING 3350 Welding Helmet
Flagship Lincoln helmet with a 12.5 sq. in. viewing area, 4C lens technology, 4 sensors, and X6 headgear for pro‑level clarity and comfort.
Check PriceA passive welding helmet has a fixed shade lens, usually a dark tinted glass that stays dark all the time. You position the electrode or torch, flip the helmet down, and then strike the arc. While this type is simple and often more affordable, it requires practice to master the head nod. It is popular among pipeliners and those who weld for long hours on repetitive tasks because there is no electronics to fail.
An auto-darkening helmet, on the other hand, uses a liquid crystal display (LCD) lens that automatically darkens when it detects the arc light. This means you can keep the helmet down while setting up, which increases productivity and reduces neck strain. If you are a beginner, an auto-darkening helmet is often the better choice because it lets you see your work clearly before striking the arc. To explore the technology behind these helmets, you can check out our detailed guide on auto-darkening welding helmet technology.
How Auto-Darkening Helmets Work
Auto-darkening helmets use arc sensors to detect the sudden bright light. When the sensors pick up the arc, they trigger the liquid crystal filter to change from a light state (usually shade 3 or 4) to a dark state (shade 8 to 13) in a fraction of a second. This all happens in less than 1/10,000 of a second, well before the bright light can damage your eyes. The helmet continuously filters UV and IR radiation even when it is in the light state, so your eyes are always protected.
Many auto-darkening helmets now include additional features like variable shade control, sensitivity adjustments, and delay settings. These allow you to fine-tune the helmet’s response to different welding processes and ambient light conditions. The core technology is reliable, but it is important to choose a helmet that meets recognized safety standards like ANSI Z87.1 in the United States or EN379 in Europe.
Key Features to Evaluate
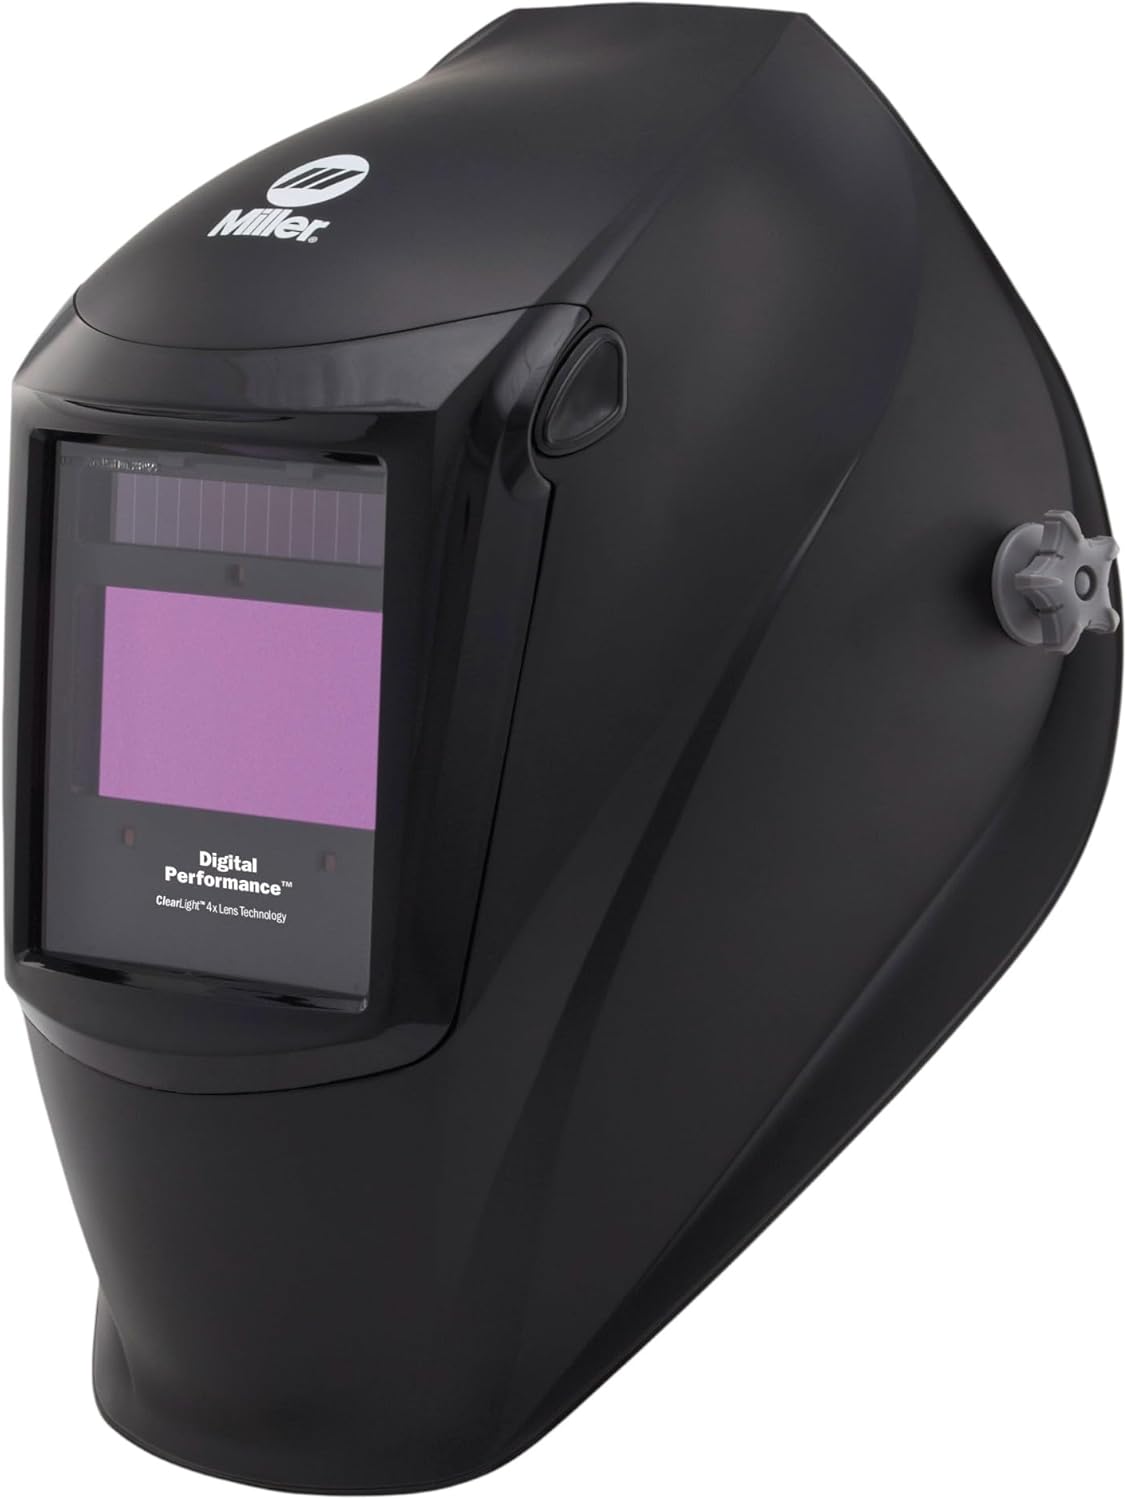
Miller Digital Performance Black ClearLight 4X
Lightweight auto‑darkening helmet with a 7.22 sq. in. view, ClearLight 4X optics, three modes, and 3 sensors for TIG, MIG, Stick, and grinding.
Check PriceOnce you decide between passive and auto-darkening, the next step is to dig into the features that affect performance and comfort. Not all helmets are created equal, and the right combination of features can make a huge difference in your daily welding experience. Here are the most important factors to consider when you learn how to choose a welding helmet.
Lens Shade Number and Optical Clarity
The shade number tells you how dark the lens gets. For most welding processes, a shade range of 9 to 13 is standard. MIG welding at higher amperages requires a darker shade (11 to 13), while TIG welding at lower amperages might only need shade 8 or 9. A helmet with variable shade control lets you adjust the darkness to match exactly what you are doing, which is very helpful if you switch between processes.
Optical clarity is rated by the 1/1/1/1 standard, which measures how the lens handles distortion, shade uniformity, and angular dependence. The highest rating, 1/1/1/1, means the clearest view with the least eye strain. Look for helmets that advertise this rating, especially if you do precision TIG welding. A clear view reduces fatigue and helps you produce better welds.
Viewing Area and Number of Sensors
The viewing area is the size of the lens through which you see. A larger viewing area gives you better peripheral vision and makes it easier to see the weld puddle and the surrounding joint. Standard sizes range from about 3.6 x 1.6 inches to massive 4.5 x 5.25 inches. While a bigger view is nice, it can also add weight and cost, so consider the trade offs based on your typical welding position.
Arc sensors are what tell the lens to darken. Budget helmets may have two sensors, while premium models have four or more. More sensors reduce the chance of accidentally blocking the sensors with your arm or torch, which can cause flickering. If you weld in tight spaces or out of position, a helmet with at least four sensors is a smart investment.
Reaction Time (Switching Speed)
Reaction time, or switching speed, is the time it takes the lens to go from light to dark after the arc is struck. It is measured in fractions of a second, typically 1/25,000, 1/20,000, or 1/10,000. A faster reaction time is always better because it reduces the split second of bright light exposure. Professional welders often prefer speeds of 1/20,000 or faster, especially for high amperage applications where the arc is extremely bright.
While a slower switching speed might not cause immediate pain, it can contribute to eye fatigue over a long day. For hobbyists, 1/10,000 is often acceptable, but if you weld daily, invest in a helmet with a faster response. Remember that the lens always protects against UV and IR even in the light state, so the reaction time mainly affects visible light and comfort.
Power Source and Battery Life
Auto-darkening helmets are powered by batteries, solar cells, or a combination of both. Solar assist helmets use a small photovoltaic panel to charge the battery or even power the lens directly. This means the battery lasts longer and you are less likely to have the helmet die in the middle of a job. Many helmets use replaceable lithium batteries, while others have sealed units that you cannot change.
Consider your environment. If you weld outdoors in bright sunlight, a solar powered helmet is a great choice. If you work in a shop with controlled lighting, a battery powered unit is fine. Look for helmets with an auto off feature to save battery life, and always check whether the battery is user replaceable before you buy.
Comfort, Weight, and Adjustability
You might wear your helmet for hours at a time, so comfort is essential. A lightweight helmet reduces neck strain and fatigue. Most modern helmets weigh between 1 and 2.5 pounds. The headgear should be adjustable, with multiple pivot points that let you balance the helmet on your head. Good padding and sweat absorbing materials also make a difference during long shifts.
Look for a helmet with a comfortable ratcheting headband that stays secure even when you nod. Some helmets offer a flip up front lens for grinding, which adds convenience. If you wear prescription glasses or a respirator, make sure the helmet has enough internal clearance. Trying on a helmet in person is ideal, but if you buy online, read reviews about fit and comfort.
Additional Features to Consider
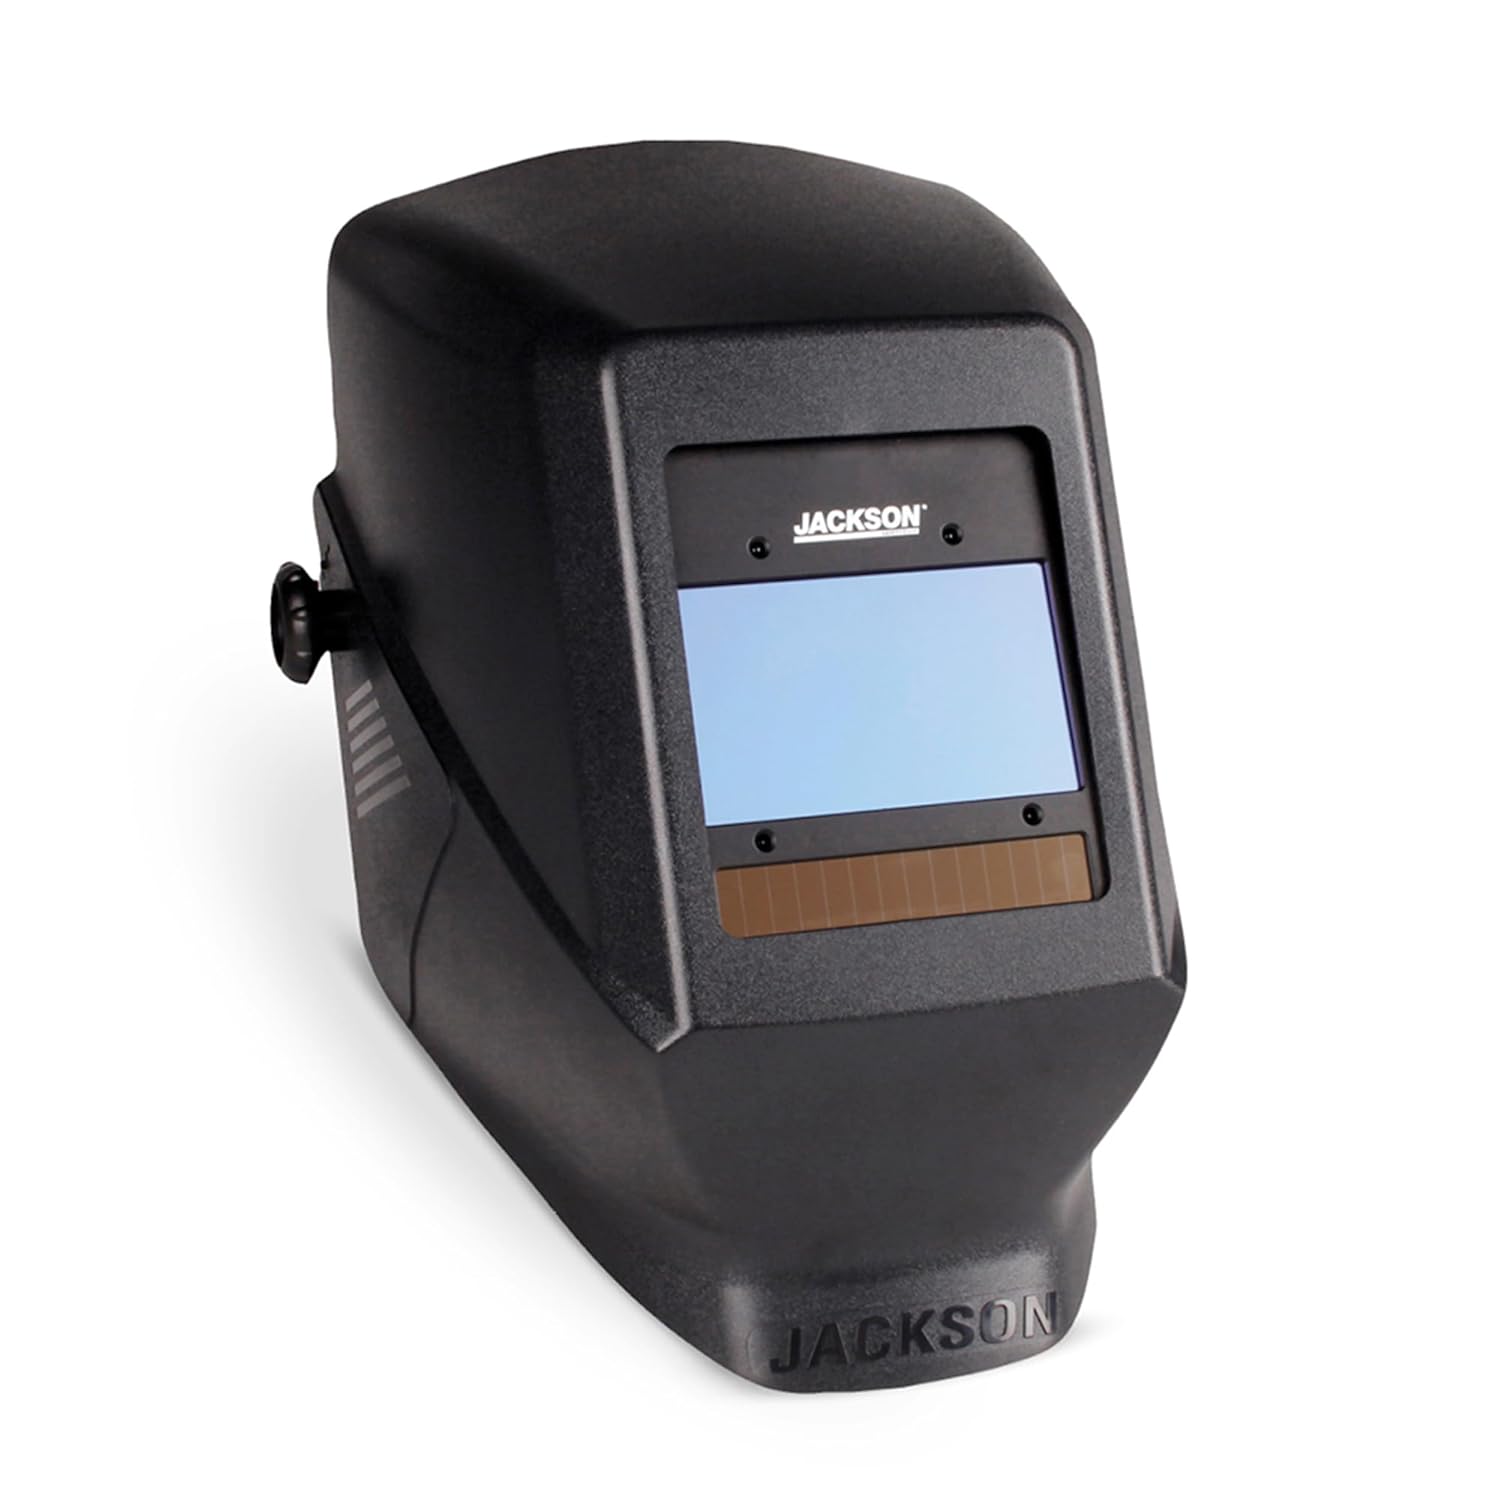
Jackson Safety Variable Darkening 46129
Ultra‑light HSL helmet with a 3.94″×2.36″ view, variable shade 9–13, and straightforward digital controls at an accessible price.
Check PriceBeyond the basics, there are several features that can enhance your welding experience. These are not strictly necessary, but they can make your work more efficient and enjoyable. As you learn how to choose a welding helmet, think about which of these extras would benefit your specific projects.
Grind Mode and External Controls
Grind mode lets you turn off the auto-darkening function so the lens stays in a light shade. This is ideal when you need to grind or clean a weld without switching to a separate face shield. Some helmets have a dedicated grind button on the outside, while others require you to adjust internal settings. External controls are generally more convenient because you do not need to take off the helmet to change modes.
Having easy access to shade, sensitivity, and delay adjustments on the outside of the helmet is a major plus. It lets you fine tune the helmet on the fly, which is especially useful when you switch between different welding processes throughout the day. If you buy a helmet with internal controls, make sure they are simple to reach and operate with gloves on.
True Color and Variable Shade
True color or natural color technology uses a specially engineered lens that reduces the greenish tint common in many auto-darkening helmets. This gives you a more realistic view of the weld puddle and the base metal, which can improve your weld quality. It is not a must have, but many welders appreciate the clearer, more natural vision, especially for TIG welding where precision matters.
Variable shade control allows you to set the exact darkness level you need, often from shade 5 to 13. This is perfect for welders who work with multiple processes or amperage levels. For example, plasma cutting might only require shade 5, while stick welding at 200 amps might need shade 12. A helmet with a wide variable shade range is versatile and adapts to almost any task.
Budget and Value
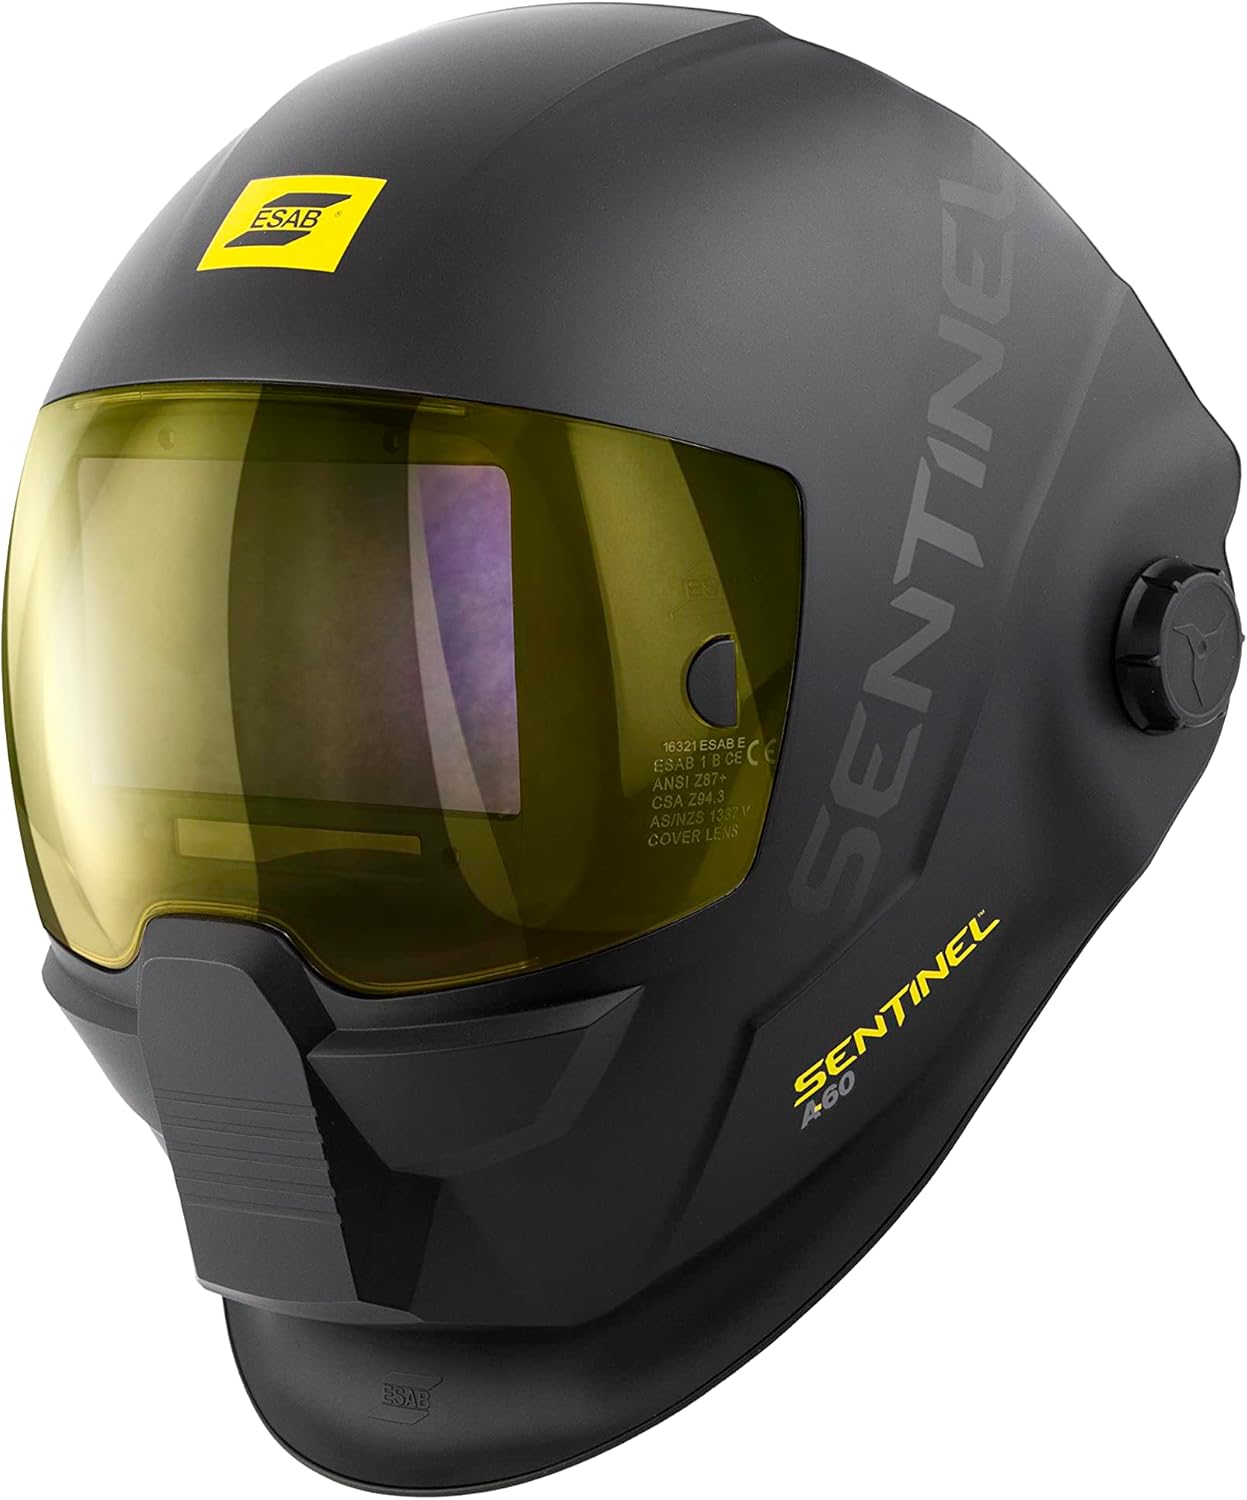
Sentinel Low‑Profile Welding Helmet
Advanced ESAB Sentinel‑type helmet with a large 4.65″×2.80″ lens (≈13 sq. in.), low‑profile shell, and true‑color 1/1/1/1 optics.
Check PriceWelding helmets range from under $50 for basic passive models to over $500 for professional auto-darkening helmets with all the bells and whistles. Your budget should match how often you weld and the level of precision you need. A hobbyist who welds a few times a month will likely be happy with a mid range auto-darkening helmet in the $100 to $200 range. A professional welder working daily on critical projects might justify a $300 to $500 investment.
Do not forget to factor in the cost of replacement lenses and batteries. A cheap helmet that requires expensive proprietary batteries might not be a good value in the long run. For a comprehensive look at top rated options across different budgets, you can browse our list of top-rated welding helmets. Balancing price with features and comfort is the key to getting the best value.
Frequently Asked Questions
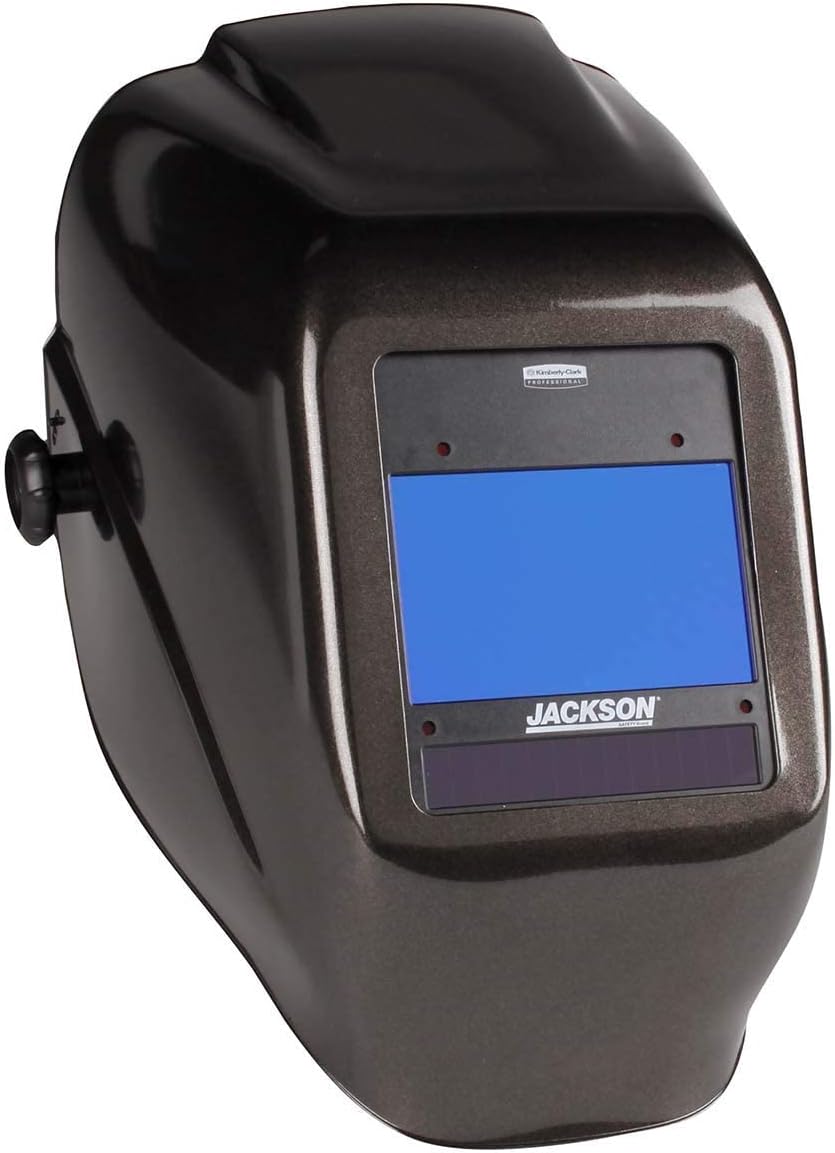
Jackson Safety NexGen Welding Helmet
Digital variable helmet with 3‑in‑1 weld/torch/grind modes, 4 sensors, and a 3.80″×2.35″ window in the classic HSL shell.
Check PriceWhat shade lens is best for MIG welding?
For MIG welding, a shade range of 10 to 13 is typical, depending on the amperage. Most welders find shade 11 or 12 works well for common settings. A variable shade helmet lets you dial in the exact darkness you need for the specific material thickness and wire speed.
Can I use an auto-darkening helmet for TIG welding?
Yes, auto-darkening helmets are excellent for TIG welding, especially when you need to see the electrode and workpiece clearly before striking the arc. Look for a helmet with a high optical clarity rating (1/1/1/1) and a fast reaction time to minimize eye strain during low amperage TIG work.
How often should I replace my welding helmet lens?
Replace the outer protective lens cover whenever it becomes scratched, pitted, or visibility is reduced. A damaged lens can compromise safety and clarity. The inner auto-darkening cartridge lasts much longer, often several years, if protected and not dropped.
Do I need a special helmet for plasma cutting?
Plasma cutting requires a different shade range, typically shade 5 to 8, which is lighter than most welding shades. Many variable shade auto-darkening helmets can handle plasma cutting if they go down to shade 5. Some also have a dedicated grind or plasma mode for this purpose.
Is a heavier helmet always more durable?
Not necessarily. Modern materials like high impact nylon and polycarbonate can be both lightweight and extremely durable. Weight often comes from larger lenses or additional features, not just ruggedness. Prioritize a helmet that feels balanced and comfortable, because a heavy helmet can cause neck fatigue without necessarily lasting longer.
Conclusion
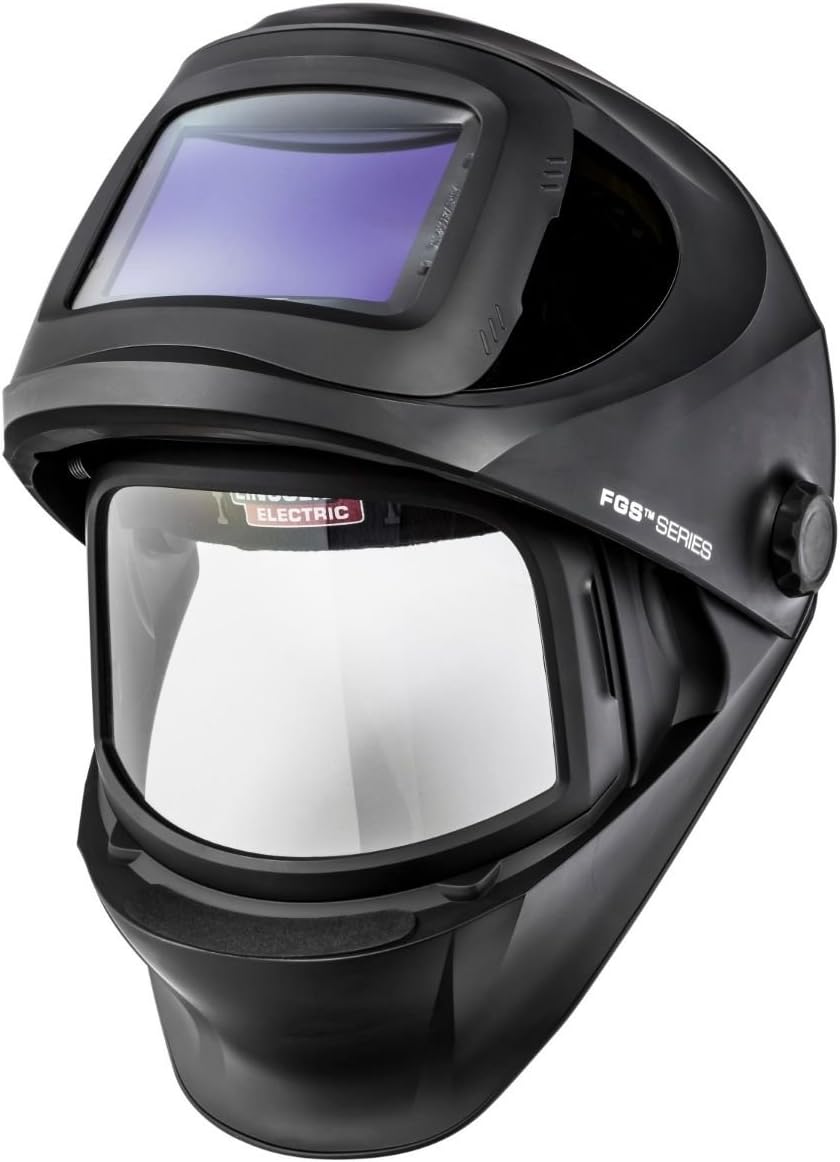
Lincoln Electric K3540‑3 VIKING 3250D FGS
Advanced VIKING helmet with a 12.5 sq. in. 4C lens and an integrated flip‑up grind shield, designed for frequent welding and grinding.
Check PriceLearning how to choose a welding helmet is about matching the helmet’s features to your specific needs. Start by deciding between a passive and auto-darkening model based on your welding style and budget. Then focus on the critical specs: lens shade, optical clarity, sensor count, reaction time, and comfort. These determine how well the helmet protects your eyes and how easy it is to use all day.
Remember to check that the helmet meets recognized safety standards like ANSI Z87.1. Investing in a quality helmet is an investment in your health and the quality of your work. For more information on welding safety, refer to OSHA’s welding safety standards. Take your time comparing models, read reviews, and if possible, try on a few helmets before buying. Your eyesight is priceless, and the right helmet makes every weld a little bit better.

James is a welding expert, accomplished author, and trusted guide with over 8 years of experience in the industry. With his in-depth knowledge and engaging writing style, James has become a true authority in the field, offering readers and clients invaluable expertise and insights to take their welding skills to new heights.