Learning how to begin MIG welding is one of the most rewarding skills you can pick up, whether you want to fix a broken lawnmower deck or build custom metal furniture. MIG welding, which stands for Metal Inert Gas, is widely considered the easiest welding process to learn because it uses a continuously fed wire electrode.
Unlike Stick welding, you do not need to constantly replace a consumed rod, and unlike TIG welding, you do not need to manage a separate filler rod with one hand while holding a torch in the other. The point and shoot nature of the process allows beginners to focus on mastering the puddle and travel speed. This guide will walk you through the absolute essentials, from setting up your machine safely to laying your first acceptable bead.
Table of Contents
Understanding the MIG Welding Process
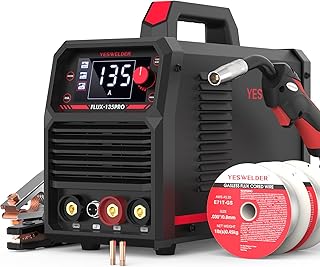
YESWELDER 135A MIG Welder, 110V Flux Core Gasless MIG/Lift TIG/Stick 3-in-1
Check PriceBefore you strike an arc, it helps to understand the physics happening inside the machine. MIG welding creates an electric circuit between the welding gun and the workpiece. When you pull the trigger, the machine feeds a consumable wire electrode through the gun, and simultaneously, shielding gas flows out of the nozzle to protect the molten weld pool from atmospheric contamination.
The arc melts the wire and the base metal, fusing them together into a solid joint. If you attempt to weld without shielding gas, the atmospheric oxygen and nitrogen will react with the molten metal, causing excessive spatter and a weak, porous weld bead that resembles a sponge. The process relies heavily on direct current, electrode positive (DCEP) polarity for stable arc characteristics and deep penetration on standard mild steel.
MIG vs. Flux Core Welding
A common point of confusion for those learning how to begin MIG welding is the difference between solid wire MIG and gasless flux core welding. True MIG welding always requires a bottle of shielding gas, typically a mix of 75% Argon and 25% CO2 (C25). Many entry-level machines allow you to run flux core wire, where the shielding compound is inside the wire, and it burns off during the process, eliminating the need for a gas cylinder.
Flux core is excellent for outdoor work because the wind does not blow away the shield, but it produces more spatter and slag. Solid MIG wire with gas produces a much cleaner bead with minimal cleanup. For a beginner, starting with gas and solid wire indoors offers a much more controlled and enjoyable learning environment, allowing you to see the weld puddle clearly without the chaos of burning flux.
Essential Safety Gear for Starting MIG Welding
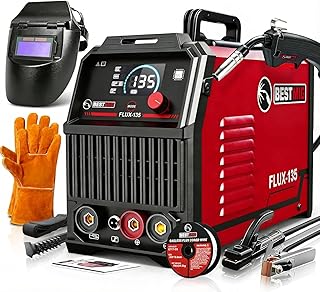
BESTMIG 135A MIG Welder – 3-in-1 Flux Core Welder, MIG/Lift TIG/Stick Welding Machine
Check PriceYou cannot learn how to begin MIG welding without first respecting the intense heat and light produced by the arc. The arc emits strong ultraviolet (UV) and infrared (IR) radiation that will burn your skin just like the sun, except much faster, a condition welders call flash burn. Covering every inch of skin is not a suggestion, it is a requirement.
You must invest in a proper welding jacket, full-length leather gloves, and safety glasses to wear under your hood. Do not weld in sneakers; hot sparks can and will land on the tops of your feet, setting synthetic shoe materials on fire or burning through leather instantly. A pair of high-top leather boots and denim pants without cuffs are essential to catch molten metal before it rolls into your shoes.
Choosing Your First Welding Helmet
The most critical piece of protective gear is the auto-darkening welding helmet. While veteran welders often use a fixed shade passive lens, an auto-darkening variant allows you to position the gun perfectly while the lens is still clear. As soon as the arc strikes, the lens instantly darkens to a protective shade level, usually shade 10 or 11 for average home MIG welding.
If you are looking for a dedicated head shield, you should review the features needed for MIG-specific helmets. A helmet with a large viewing area and adjustable sensitivity settings will dramatically flatten your learning curve because you can actually see the wire and the joint alignment before you pull the trigger, preventing wild, blind starts.
Setting Up Your MIG Welder for the First Time
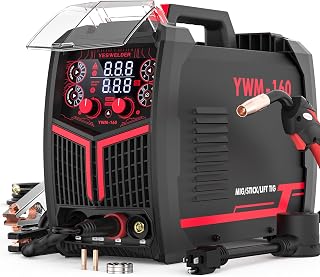
YESWELDER 160A MIG Welder, 110V/220V MIG/Flux Core/Lift TIG/Stick
Check PriceThe setup procedure is where most raw beginners make critical mistakes that lead to frustration. You need a dedicated 110V or 220V outlet, depending on your machine. Before plugging anything in, ensure your polarity is set correctly. Solid MIG wire requires the torch to be positive and the ground clamp to be negative, a configuration usually set by moving jumpers or terminal knobs inside the machine near the drive roll.
Loading the wire spool correctly prevents bird nesting, a tangled mess inside the drive system. Ensure the drive roll groove matches your wire diameter, usually 0.030 inches for beginners. Feed the wire through the guide, into the liner, and run it through the gun until it sticks out about a quarter inch. You do not want too much stick-out, or the shield gas will fail to cover the puddle effectively.
Setting Voltage and Wire Feed Speed
Dialing in your settings is not guessing, it is listening. You want a steady, crisp frying bacon sound. If the machine sputters and pops aggressively, producing golf ball-sized blobs, your wire speed is too high for the voltage. If the wire is burning back into the tip and melting the contact tip, your wire speed is too slow or the voltage is set too high.
Most machines have a chart inside the cover suggesting parameters for metal thickness. Use these as a starting point, not gospel. Hold the gun in one hand, pull the trigger, and run a short bead on scrap metal. If the bead sits tall and narrow like a caterpillar, you need more heat (voltage). If the bead is flat but undercutting the edges of the metal, you are too hot and need to move faster or reduce voltage.
Mastering the Technique: Body Position and Gun Angle
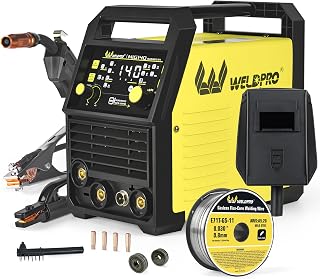
WELDPRO 140A MIG Welder 110/220V, 2026 Newest 5-in-1 Flux Core Welder
Check PriceYou cannot produce a straight bead if you are wobbling off balance. Get yourself comfortable by bracing your elbows on the workbench or supporting your torch hand with your free hand. The gun should be held at a comfortable angle that allows you to see the molten puddle clearly, not just the bright arc. Many beginners stare at the arc cone, but professionals watch the puddle of molten metal flowing behind the wire.
You generally have two travel choices: the push (forehand) technique and the pull (backhand) technique. For thin gauge sheet metal, pushing the torch forward results in a flatter, wider bead with less penetration, reducing the risk of blowing holes. For thicker structural steel, pulling the torch toward you creates a deeper penetrating arc. For general-purpose learning, maintaining a neutral 90-degree angle with a slight 10 to 15-degree push is ideal for visibility and gas coverage.
Travel Speed and Stick-Out Distance
Travel speed directly affects the bead profile. Moving too fast creates a thin, weak string of weld with pointed ripple ripples. Moving too slow creates a wide, overheated bead that can melt through the base metal. Maintain a constant pace, watching the puddle’s leading edge wet into the base metal. The stick-out, the distance from the contact tip to the workpiece, should remain a consistent 3/8 to 1/2 inch. If you lengthen the stick-out too much, the wire preheats, the arc becomes unstable, and gas shielding becomes ineffective.
Your goal is uniformity. The color of a good MIG weld on steel after removing the glassy silica deposit should be a uniform grey or slightly straw-colored. A rainbow of colors or a dark, sooty black coating indicates overheating or shielding gas issues. To refine your motion patterns, you can review specific MIG welding pattern techniques that cover weave motions for wider joints.
Preparing Your Base Metal for Welding
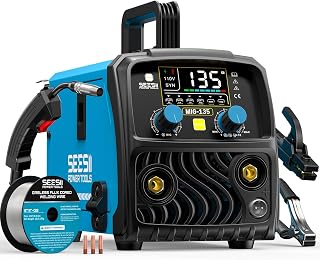
SEESII 135A MIG Welder 110V – 3-in-1 Gasless Flux Core/Lift TIG/Stick Welding Machine
Check PriceMIG welding is extremely sensitive to dirty metal. While Stick welding can burn through galvanization, rust, and paint, MIG wire does not contain internal fluxes designed to scoop out impurities. If you try to weld over mill scale, rust, or grease, you will immediately see black soot and a porous puddle that spits in all directions.
Spend as much time grinding as you do welding. Use an angle grinder with a flap disc or hard wheel to take the steel down to shiny, bright silver metal. Wipe the joint down with acetone to remove machine oil. Do not use brake cleaner for this task, as the heat from a welding arc can chemically interact with chlorinated brake cleaners to produce phosgene gas, a severe respiratory hazard that can cause long-term health issues or death.
Choosing the Right MIG Welding Wire
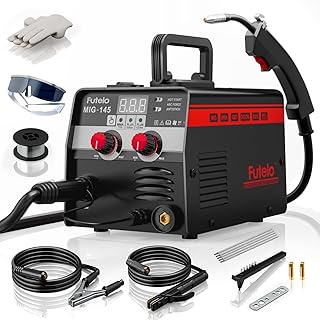
Futelo 145A MIG Welder, 110V 3-in-1 Flux Core Stick Lift TIG
Check PriceWalking into a welding supply store and seeing the wall of wire spools can be intimidating. For learning how to begin MIG welding on mild steel at home, you want an ER70S-6 solid wire in a 0.030-inch diameter. The S-6 designation means it contains higher levels of silicon and manganese, which act as deoxidizers, helping to pull impurities out of the puddle and leaving that smooth, glassy silica island on top of your finished weld.
Wire diameter matters significantly. A 0.023-inch wire is excellent for autobody work on thin 22-gauge panels, but it is too whippy and unstable for 1/8-inch angle iron. A 0.035-inch wire is fantastic for thick structural plates requiring deep penetration, but it requires high amperage that can instantly vaporize thinner metals. The 0.030-inch wire strikes the perfect Goldilocks balance for the average hobbyist working with material between 1/8 and 1/4 inch thick.
Common Beginner MIG Welding Mistakes to Avoid
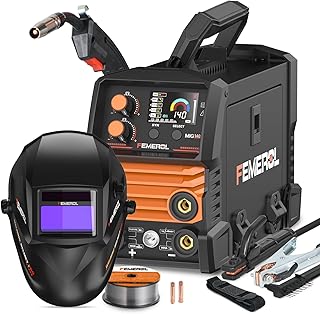
FEMEROL 140A 3 in 1 MIG Welder,Flux Core, MIG/Lift TIG/Stick Welding Machine 110V
Check PriceRecognizing a bad weld early prevents you from reinforcing bad muscle memory. One dangerous mistake is cold lapping, often referred to as glue gunning, where the wire piles up on top of cold metal without actually melting the base plate. This happens when voltage is too low, and while the bead might look smooth, it has zero structural strength and will snap under load.
Another common issue is porosity, which looks like tiny Swiss cheese holes in the bead. This usually results from losing your shielding gas coverage. Common causes include a draft from a shop fan blowing the gas away, holding the nozzle too far from the work, or forgetting to turn the gas bottle on. Additionally, failing to clip the wire before restarting an arc is a rookie habit. You must always snip the wire to a sharp point to ensure immediate arc ignition, a process you can master by studying how entry-level welders perform arc starting efficiently.
Finalizing and Cleaning Your Welds

ANDELI 110V/220V MIG Welder 135A, PULSE Flux Core/Lift TIG/Stick 4-in-1
Check PriceOnce you finish a bead, you will notice a brown or purple glass-like residue called silica sitting on top of the weld. This is not slag in the Stick welding sense, and it does not need heavy chipping. A wire brush or a quick pass with a flap disc will flick it off, revealing a shiny metallic bead. If the silica is stuck tightly and looks burnt black, you introduced too much heat or your gas flow rate was too high, causing turbulence that drew in oxygen.
Inspect the edges where the weld meets the base metal, known as the toe line. A good weld transitions smoothly into the plate without a sharp, jagged undercut. If you see a deep trench along the side of the weld, you are running too hot or moving too long at the edges without filling sufficiently. Practicing on a flat T-joint or lap joint allows you to run beads that are easy to cut and inspect for root fusion.
Practical Drills for First-Time Welders
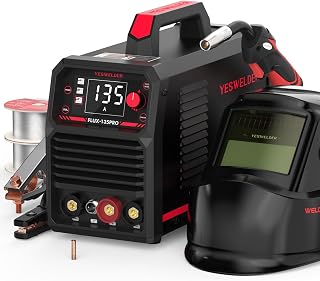
YESWELDER 135A Flux Core MIG Welder FLUX-135PRO with LYG-L600A Helmet
Check PriceInstead of trying to join metal pieces immediately, start with padding beads on a flat piece of thick scrap steel. Draw a straight chalk line on the plate and run a bead directly over it. Focus on keeping the ridge of the bead perfectly straight above the chalk line. Repeat this, overlapping each bead by about 50 percent until the entire plate is covered, a technique that builds muscle memory for torch control and rhythm.
After mastering flat padding, move to horizontal T-joints. Cut two small rectangles of steel, tack them into a T shape, and weld the seam. Watch the puddle to ensure it wets into both the vertical and horizontal piece equally. It is natural for gravity to pull the puddle down, so angle your wire slightly more toward the top piece to compensate. According to the equipment guidelines shared by Miller’s basic MIG training resources, consistency is far more important than speed when starting out.
Frequently Asked Questions About How to Begin MIG Welding
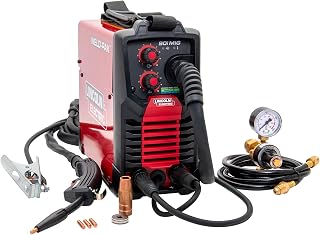
Lincoln Electric 90i MIG and Flux Core Wire Feed Weld-PAK Welder, 120V
Check PriceIs MIG welding hard to learn for a complete beginner?
No, MIG welding is generally the easiest welding process to learn. The continuously fed wire removes the complexity of maintaining a tight arc length, which is a major hurdle in Stick welding. Most people can produce an acceptable, structurally sound bead on flat steel within a weekend of practice. The difficulty increases when moving to out-of-position welding, such as overhead work, or welding very thin metals that burn through easily.
What gas should I use for mild steel MIG welding?
For standard mild steel in a home shop, a 75% Argon and 25% Carbon Dioxide (C25) mix is the industry standard. This blend provides a stable arc with minimal spatter and a smooth bead profile. Pure CO2 can be used and is cheaper, but it runs hotter, produces more spatter, and results in a rougher arc. You should never use pure Argon on mild steel, as it will lead to a tall, weak bead with poor penetration.
Why does my MIG wire keep sticking to the metal?
If your wire stubs into the plate and fuses to the base metal, your wire feed speed is likely too slow for the voltage setting. The wire is melting before it can cross the arc gap. Alternatively, your stick-out might be too short, meaning you are holding the contact tip too close to the metal. Increase your wire feed speed by a few increments or pull the gun back slightly to give the wire more time to feed and melt in the air gap.
Can I learn MIG welding on my own without a class?
Absolutely. While formal training in a welding school speeds up the process significantly, the accessibility of MIG welding makes it perfect for self-taught hobbyists. There are thousands of high-quality video resources online. The key is to practice with intent, systematically changing only one variable at a time, either speed or voltage, to understand cause and effect. Be sure to cut your test welds in half to check for internal hidden defects like a lack of fusion.
What thickness of metal is best for beginners to practice on?
Start with 1/8-inch or 3/16-inch mild steel. This thickness is forgiving with heat input, it does not burn through instantly like thin sheet metal, and it does not act as a massive heat sink that freezes your puddle too quickly like 1/2-inch plate. Using scrap hot-rolled steel plate from a local metal supplier gives you a low-cost canvas for practicing beads all day without wasting expensive cold-rolled stock.
Conclusion
Understanding how to begin MIG welding is primarily about controlling the variables of heat, speed, and shielding gas. If you can keep your metal clean, your stick-out constant, and your travel speed smooth, you will be producing professional-looking welds in a surprisingly short time. The biggest mistake beginners make is attempting to weld dirty, rusty scrap and then blaming themselves for the terrible results. Respect the process, cover up completely to avoid a painful sunburn, and always prioritize safety. Grab some clean steel, dial in that frying bacon sound, and enjoy the satisfying process of fusing steel together with your own hands.