Learning how to use a plasma cutter opens up a world of possibilities for metal fabrication, auto repair, and DIY projects. A plasma cutter slices through steel, stainless steel, and aluminum with speed and precision, but only when you operate it correctly. This guide walks you through every step, from unpacking the machine to making your first clean cut. You will gain the confidence to set up your cutter safely, choose the right amperage, and handle the torch like a pro.
Whether you just bought a budget plasma cutter for home use or you are stepping up to a professional unit, the fundamentals remain the same. We will also connect you to trusted resources and in-depth setup guides on our site to reinforce what you learn here. By the end, you will understand not just the sequence of buttons and triggers, but the reasoning behind each move.

ARCCAPTAIN 50A Plasma Cutter with Large LED Display
Check PriceTable of Contents
What You Need Before You Start
Before you strike an arc, gather the essential gear. A plasma cutter alone is not enough, you need a clean, dry air supply, proper personal protective equipment, and a stable work surface. Missing any of these will lead to poor cut quality or even safety hazards.
Start with compressed air. Most plasma cutters require an external compressor that delivers a steady flow at the pressure specified in your manual, typically between 60 and 100 PSI. Moisture is the enemy here, so install an inline moisture trap or dryer to keep water out of the torch. Without dry air, the electrode and nozzle wear out quickly, and the arc becomes erratic.
Your safety kit must include a welding helmet rated for plasma cutting, normally a shade 5 to 8 lens. Put on flame-resistant gloves, a long-sleeve jacket, and safety glasses underneath the helmet. Leather boots and pants without cuffs prevent sparks from finding a pocket. Keep a fire extinguisher within reach and clear the area of flammable materials. For detailed setup routines, review our guide on proper setup procedures before proceeding.
How to Set Up a Plasma Cutter
ARCCAPTAIN iControl CUT55 Pro
Check PriceSetting up the machine correctly prevents ninety percent of beginner problems. Begin by placing the unit on a flat, dry spot with at least twelve inches of clearance around the air vents. Connect the air hose from your compressor to the regulator on the back of the plasma cutter, making sure all fittings are tight.
Plug the machine into the appropriate outlet. Many 110-volt units work on a standard household circuit, while larger 220-volt models need a dedicated breaker. Always check the manufacturer’s amperage draw to avoid tripping breakers. Next, attach the work clamp directly to the workpiece or the metal table. The clamp must make bare metal contact, so grind off paint, rust, or scale at the connection point.
Open the air valve on your compressor and adjust the regulator until the pressure gauge reads what the manual recommends. Power on the cutter and let the air flow through the torch for a few seconds to purge any debris. Inspect the consumables, the electrode, nozzle, swirl ring, and shield, and replace any that show signs of pitting or carbon buildup. If you are new to these steps, the full walkthrough on how to set up a plasma cutter will deepen your understanding.
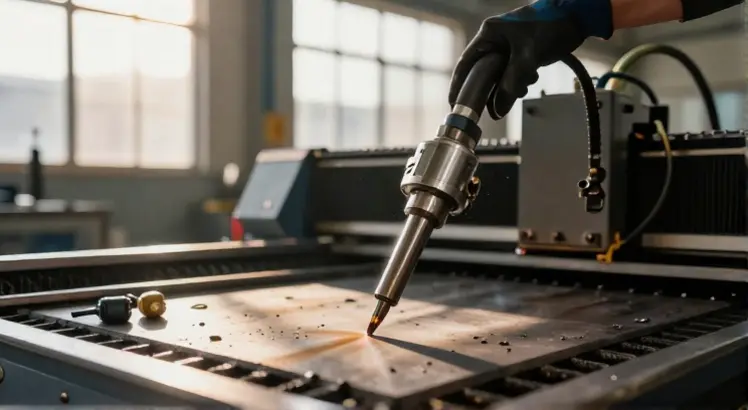
Step-by-Step: How to Use a Plasma Cutter
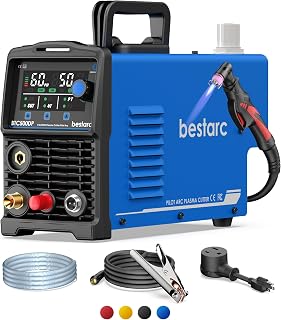
Bestarc 50A Pilot Arc Plasma Cutter
Check Price1. Prepare the Metal Surface
Even though plasma cutters handle painted or rusty metal, a clean surface produces a cleaner cut. Use a wire brush or grinder to remove heavy scale, paint, and oil along the cut line. Place the workpiece on a cutting table with slats that allow sparks to fall away. Ensure the material is grounded through the table or by the work clamp attached directly.
2. Set the Amperage
The thickness of your metal dictates the amperage setting. As a rule of thumb, a 50-amp cutter can sever half-inch steel, but for a smooth, dross-free cut, you want to stay at or below the rated optimal thickness. For 1/8-inch mild steel, 20 to 25 amps is plenty. For 1/4-inch, 30 to 35 amps works well. Consult the chart inside the machine’s side panel or user manual. Running too high an amperage overheats the consumables, while too low an amperage causes the torch to drag and leave slag.
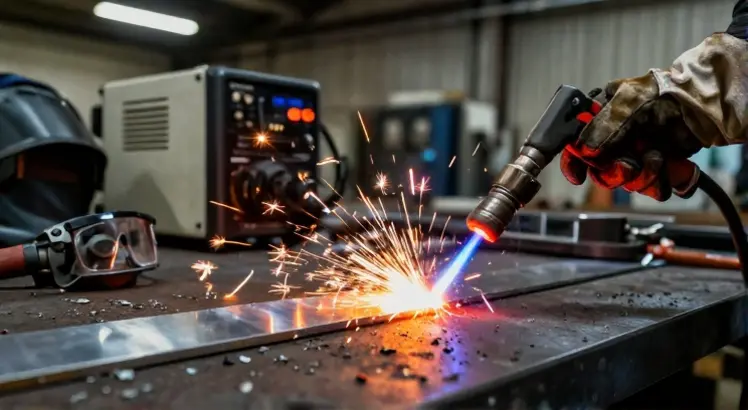
3. Position the Torch and Initiate the Arc
Hold the torch with a relaxed grip, similar to a pencil, and position the tip about 1/8 inch above the metal. Some torches have a drag shield that lets you rest the shield directly on the workpiece, this is called drag cutting. If you are using a standoff guide, maintain a slight gap. Press the trigger to start the pilot arc, a small, non-transferred arc that ionizes the air.
Once the pilot arc touches the grounded workpiece, the main cutting arc transfers and the high-velocity plasma jet blasts through the metal. You will hear the change in sound, a sharp, steady hiss. Immediately begin moving the torch. Hesitation at the start creates a wide kerf and excessive dross. Keep the torch perpendicular to the surface for square edges, or tilt it slightly forward for faster travel.
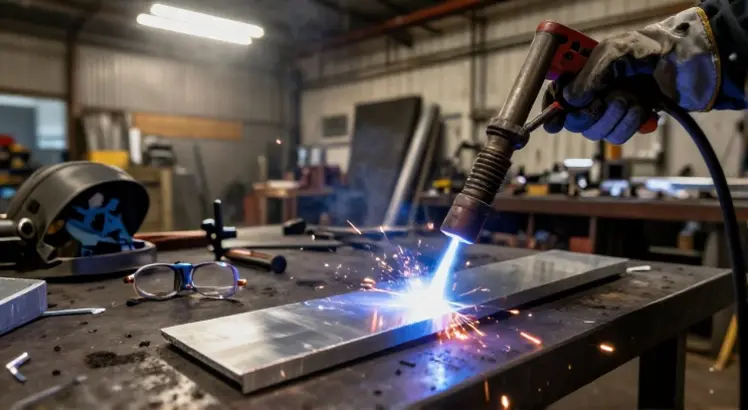
4. Maintain Proper Travel Speed
Consistent travel speed is the secret to a factory edge. Move too slowly and you produce a thick, hard-to-remove dross on the bottom, plus a heat-affected zone that warps thin metal. Move too fast and the arc does not fully penetrate, leaving a partial cut. Watch the arc stream: it should exit the bottom of the workpiece at a slight trailing angle, around 15 to 20 degrees from vertical.
Listen closely. A crisp hum with few sparks flying upward means you are in the sweet spot. If sparks blow back toward the torch, you are moving too fast. If the cut becomes wide and full of molasses-like slag, slow down. Practice on scrap pieces to develop muscle memory before tackling a final project.
5. Release the Trigger and Post-Flow
At the end of the cut, release the trigger while the torch is still in the kerf. The air will continue flowing for several seconds, this post-flow cools the torch and blows out moisture. Do not shut off the air immediately. Allow the full post-flow cycle before powering down. Then, turn off the machine, close the air valve, and inspect the cut edge.
For a more visual walkthrough, especially if you have never held a plasma torch before, check our resource on using a plasma cutter for the first time. It covers torch handling and common beginner jitters.
Tips for Cleaner Cuts and Smoother Operation
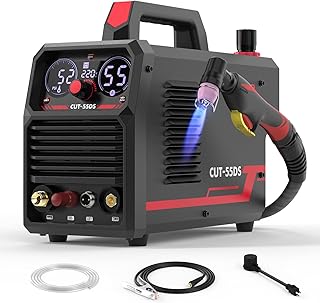
YESWELDER CUT-55DS
Check PriceSmall adjustments make a massive difference in cut quality. Secure your workpiece with clamps or magnets so it does not vibrate. Use a straight edge or pattern guide if you need a long, linear cut. Keep a spray bottle of anti-spatter solution nearby for aluminum cuts. When piercing a hole, start at an angle so the molten metal does not spray directly onto the torch tip. Gradually rotate the torch to vertical as the arc penetrates.
Replace consumables in sets, not individually. A worn nozzle combined with a fresh electrode still produces an unstable arc. Keep several sets of spares, especially if you cut a lot of rusty or coated metal. Finally, invest in a quality air filtration system. Dry air extends the life of your electrodes and nozzles by up to three times. The industry guide on plasma cutting fundamentals from Miller offers excellent deeper insights on consumable life and gas selection.
Plasma Cutting Safety Checklist
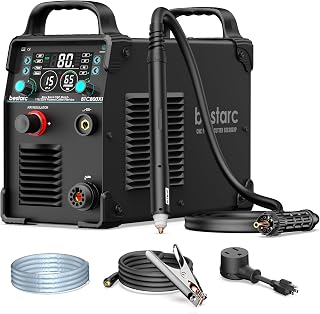
Bestarc 80A CNC Plasma Cutter
Check Price- Wear a shaded helmet, safety glasses, leather gloves, and fire-resistant clothing at all times.
- Confirm the work clamp is attached to bare metal and not near a painted surface.
- Keep the work area dry and free of grease, fuel, or solvent containers.
- Never bypass the trigger safety or modify the torch switch.
- Provide good ventilation or use a fume extractor, plasma cutting produces toxic metal oxides.
- Stay aware of the torch tip, it reaches thousands of degrees even after the arc stops.
Following these safety points protects you and your equipment. Even experienced fabricators review this list before each session because overconfidence leads to accidents. If you need a dedicated safety deep dive, visit our plasma cutter safety guide linked in the resources.
Common Mistakes and How to Avoid Them
One frequent error is using the wrong air pressure. If the pressure is too low, the pilot arc will not transfer cleanly and the cut sputters. If it is too high, the arc blows out and you waste air. Always set pressure according to the manufacturer’s specification while air flows through the torch, not static pressure. Another common slip-up is dragging the torch body instead of the drag shield. The nozzle insulator melts if you let the metal body touch the workpiece, causing a short and immediate end to your cutting session.
Beginners often try to cut beyond the machine’s rated capacity. A 30-amp cutter will not sever one-inch plate, and forcing it overheats the transformer and ruins the board. Match the job to the machine. If you see excessive top-edge rounding, you are either moving too slowly or the amperage is too high. Adjust one variable at a time until the cut evens out.
Charred, cratered electrode tips indicate moisture in the air supply. Install a desiccant dryer or at least a coalescing filter. Check the torch consumables regularly, a damaged swirl ring causes the arc to spiral, giving a jagged cut face. By diagnosing these symptoms early, you save both money and frustration.
Frequently Asked Questions
Bestarc 50A Pilot Arc Plasma Cutter
Check PriceHow thick can a plasma cutter cut?
A typical entry-level 110-volt plasma cutter can sever 1/4 inch steel and produce a quality cut on 1/8 inch. Mid-range 50-amp units on 220 volts can sever 3/4 inch and cut 1/2 inch cleanly. Industrial systems with high amperage handle over an inch. Always check the manufacturer’s rated cut and severance thickness.
Do I need a special plug for a plasma cutter?
Small 110-volt units plug into a standard household outlet, but they may need a 20-amp circuit. Larger 220-volt models require a dedicated outlet, often a NEMA 6-50 or 14-50 plug. Verify your machine’s plug type before purchase and have an electrician install the correct receptacle if needed.
Can I use a plasma cutter without an air compressor?
No, all standard plasma cutters need compressed air to create the plasma jet. Some portable units have a built-in air compressor, but these are less common and have limited duty cycles. For most cutters, you must connect an external compressor with a proper moisture filter.
Why is my plasma cutter sputtering and not cutting through?
Sputtering usually points to low air pressure, moisture in the lines, worn consumables, or a poor ground connection. First, check that the compressor is delivering the required pressure while the trigger is pulled. Then inspect the electrode and nozzle for wear. Finally, grind the work clamp contact area down to bare metal.
What shade lens do I use for plasma cutting?
A shade 5 lens is the minimum for most hand-held plasma cutting up to 40 amps. For higher amperage cutting, shade 6 to 8 provides better comfort. Many auto-darkening welding helmets have a plasma cutting mode that sets the shade appropriately.
Conclusion
Knowing how to use a plasma cutter transforms rough steel plates into precise, shaped components with minimal grinding. Start with a thorough setup, connect dry air, set the correct amperage, and master the torch angle and travel speed. Respect the heat, wear your safety gear, and maintain consumables religiously. Each cut teaches you something new about your machine’s behavior.
Bookmark the internal guides we linked for quick reference, and revisit the Miller resource whenever you upgrade equipment or try a new metal thickness. Apply the checklist and troubleshooting steps every time you power on. With a bit of practice, you will produce smooth, dross-free edges and tackle jobs that used to feel out of reach. Now pick up that torch, strike an arc, and enjoy the clean, fast results that only plasma can deliver.