Learning how to set up a plasma cutter properly is the foundation for clean, precise cuts and safe operation. Many first-time users focus only on the cutting process, but a rushed or incomplete setup often leads to ragged edges, excessive wear on consumables, and unnecessary frustration. This guide walks you through every step, from checking your air supply to dialing in the correct amperage, so you can start cutting with confidence. Whether you just unboxed a new machine or you are troubleshooting an older unit, following these setup procedures will save you time and material.

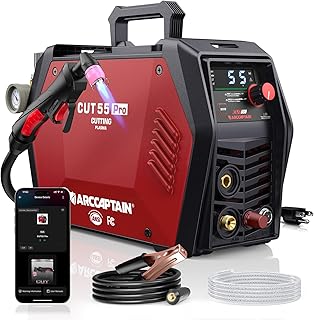
ARCCAPTAIN 50A Plasma Cutter with Large LED Display
Check PriceTable of Contents
What You Need Before Setting Up Your Plasma Cutter
Before you power on the machine, gather the essential components. You will need the plasma cutter itself, a clean and dry compressed air source, the appropriate power outlet, consumables like electrodes and nozzles, and personal protective equipment. A stable work surface and a fire-resistant area are also important. Checking these items first prevents interruptions once you begin the actual setup.
Recommended Tools and Consumables
- Plasma cutter with ground clamp and torch
- Air compressor with moisture separator or filter
- Matching consumables (electrode, nozzle, shield cup, swirl ring)
- Safety glasses, welding gloves, and flame-resistant clothing
- Wrench or pliers for tightening connections
Step-by-Step Guide to Setting Up Your Plasma Cutter
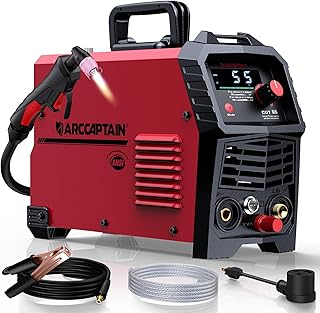
ARCCAPTAIN iControl CUT55 Pro
Check PriceStep 1: Connect the Air Supply
Clean, dry air is critical for plasma cutting. Any moisture or oil in the air line will damage consumables and produce poor cut quality. If you have not already done so, attach an inline moisture filter or desiccant dryer between your compressor and the plasma cutter. Set the air pressure according to the manufacturer’s specification, typically between 60 and 70 PSI for most small portable units. Check for air leaks at the quick-connect fittings before moving on.
Step 2: Install the Consumables Properly
The torch consumables, the electrode, swirl ring, nozzle, and shield cup, must be installed in the correct order. Unscrew the torch head and insert the electrode first, followed by the swirl ring, then the nozzle, and finally the shield cup. Hand-tighten only. Overtightening with tools can strip threads or misalign parts, which causes erratic arc starts. Refer to your machine’s manual for the specific assembly sequence, as some brands differ slightly.
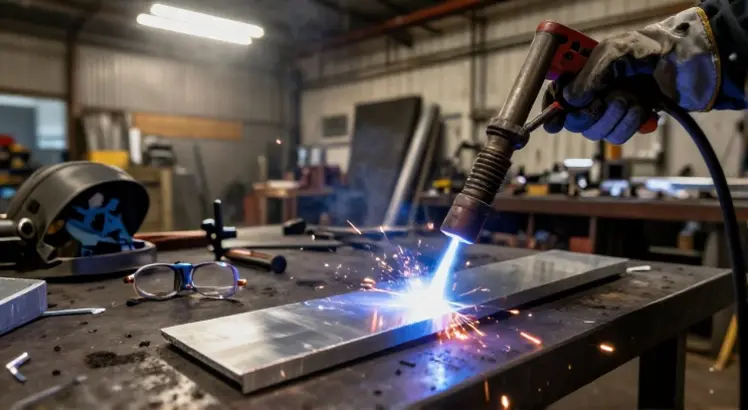
Step 3: Connect the Ground Clamp
The ground clamp completes the electrical circuit. Attach it directly to clean, bare metal on your workpiece or cutting table. Rust, paint, or grease at the connection point can cause resistance and poor arc transfer. Some beginners make the mistake of clamping onto painted surfaces or thin edges that do not provide solid contact. Grind a small spot clean if necessary, and position the clamp as close to the cutting area as practical without being in the path of the torch.
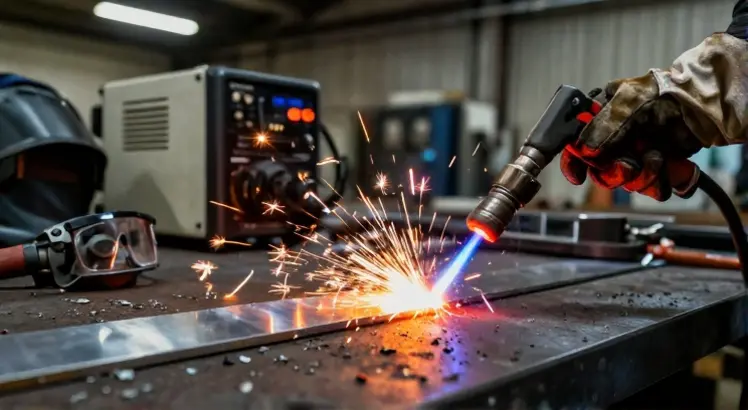
Step 4: Set the Amperage and Pressure
The cutting amperage controls how much power the arc delivers. Higher amperage cuts thicker metal but increases the heat-affected zone and consumable wear. Start with the recommended settings chart for your machine and material thickness. For example, 20 amps is enough for 1/8 inch mild steel, while 40 amps handles up to 3/8 inch. Adjust the air pressure while the trigger is activated and air is flowing, not at rest, because pressure drops when the solenoid opens. For a detailed look at matching power to metal, understanding how amperage affects cut quality will help you make the right adjustments.
Step 5: Power Up and Test the Arc
Plug the plasma cutter into a properly grounded outlet matching its voltage, 110V or 220V. Turn on the power switch and let the unit complete its startup self-test if applicable. With the torch away from the workpiece, momentarily pull the trigger to verify airflow and a pilot arc, if your machine has a pilot arc feature. The arc should ignite steadily without sputtering. If the arc does not start, recheck your consumables alignment, air pressure, and ground connection before troubleshooting further. For a deeper understanding of plasma cutting principles and advanced setup options, you can consult the industry-leading plasma cutting guide from Miller.
Safety Checks During Setup
ARCCAPTAIN 55A Plasma Cutter
Check PriceInspect the Cables and Torch
Before each session, look over the torch lead, ground cable, and power cord for cuts, cracks, or exposed wires. Damaged insulation can lead to electrical shock or fire hazards. Check that the torch trigger moves freely and that the consumables are not worn beyond their usable life. A nozzle with a rounded or elongated orifice will produce a poor cut.
Position Your Workspace Correctly
A plasma cutter generates sparks and hot slag. Clear the area of flammable materials such as rags, paper, or solvent containers. If you are cutting on a metal table, ensure the table is grounded and that combustible materials are not stored underneath. Good ventilation or fume extraction is also necessary because plasma cutting releases metal fumes. Many hobbyists overlook this step, but breathing zinc or stainless steel fumes can cause health issues. Always review these plasma cutter safety practices before you begin any project.
Fine-Tuning Air Pressure and Amperage for Best Results

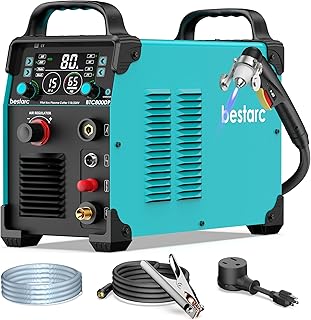
Bestarc 50A Pilot Arc Plasma Cutter
Check PriceEven after initial setup, small adjustments make a big difference. A weak or yellow arc often indicates low air pressure or a nozzle obstruction. A loud, sputtering cut with excessive dross suggests too much amperage for the material or incorrect travel speed. Keep a log of the settings that work best for different materials and thicknesses, this becomes a quick reference sheet you will appreciate on future projects. If you notice the arc wandering or not piercing, verify that the standoff distance between the nozzle and workpiece stays around 1/8 inch.
Common Setup Mistakes to Avoid
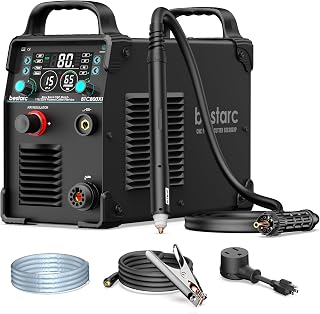
Bestarc 80A Plasma Cutter
Check Price- Forgetting to drain the compressor tank, leading to water in the air lines
- Using incorrect consumables for the amperage range
- Tightening consumables with pliers, causing galling
- Connecting the ground clamp to a painted or rusty surface
- Running the machine on too small an extension cord, causing voltage drop
Maintenance Tips to Keep Your Plasma Cutter Ready
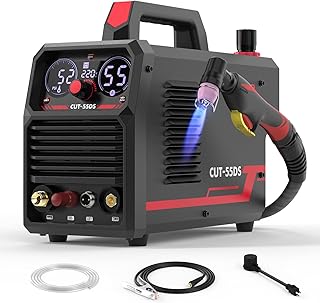
YESWELDER CUT-55DS
Check PriceA well-maintained plasma cutter always starts and cuts better. After each use, blow out any dust and metal particles from the air filter housing. Drain the moisture trap. Replace consumables in sets, if the electrode has a deep pit, the nozzle is likely worn too. Store the machine in a dry place with the torch cable coiled loosely to prevent internal wire damage. A few minutes of upkeep after setup extends the life of your investment dramatically.
Frequently Asked Questions
Bestarc 80A CNC Plasma Cutter
Check PriceDo I need a special air compressor for a plasma cutter?
No, but your compressor must deliver clean, dry air at the required flow and pressure, usually 4 to 8 SCFM at 60 to 90 PSI depending on the machine. A basic pancake compressor may not keep up, causing pressure loss during longer cuts. Adding a moisture trap and a filter is more important than buying a massive tank.
Can I set up a plasma cutter on a 110V household outlet?
Yes, many small inverter plasma cutters operate on standard 110V outlets. However, they typically max out around 20 to 30 amps cutting capacity on 110V. For thicker metals, you will need a 220V circuit. Always check the machine’s input requirements and dedicated circuit amp rating before plugging in.
How do I know if my consumables are installed correctly?
After installation, look at the nozzle orifice. You should see a clean round hole with the electrode tip centered inside. If the electrode is off-center or the shield cup is cross-threaded, the arc will be unstable. A quick test fire in the air, without touching metal, should produce a strong blue-white pilot arc.
What air pressure should I set for my plasma cutter?
The ideal pressure varies by model and torch length. Most units work well between 60 and 75 PSI while the trigger is pulled. Refer to the onboard gauge and the manual. If you see too much dross or the arc blows out, increase or decrease pressure in small increments while monitoring the cut quality.
Is it safe to set up a plasma cutter indoors?
You can set up indoors if you have proper ventilation and fume extraction. A fan blowing across the work area helps, but a dedicated fume extractor is better. Never run a plasma cutter in a closed garage without opening doors or windows, as metal fumes can accumulate rapidly.
Conclusion
Setting up a plasma cutter the right way takes only a few extra minutes, but it pays off with cleaner cuts, longer consumable life, and safer operation. Make air quality, correct consumable installation, and solid grounding your three non-negotiables every time you prepare to cut. Bookmark this guide, and as you gain experience, you will develop a rhythm that makes setup second nature. Now, grab your helmet, double-check your connections, and start cutting with precision.